
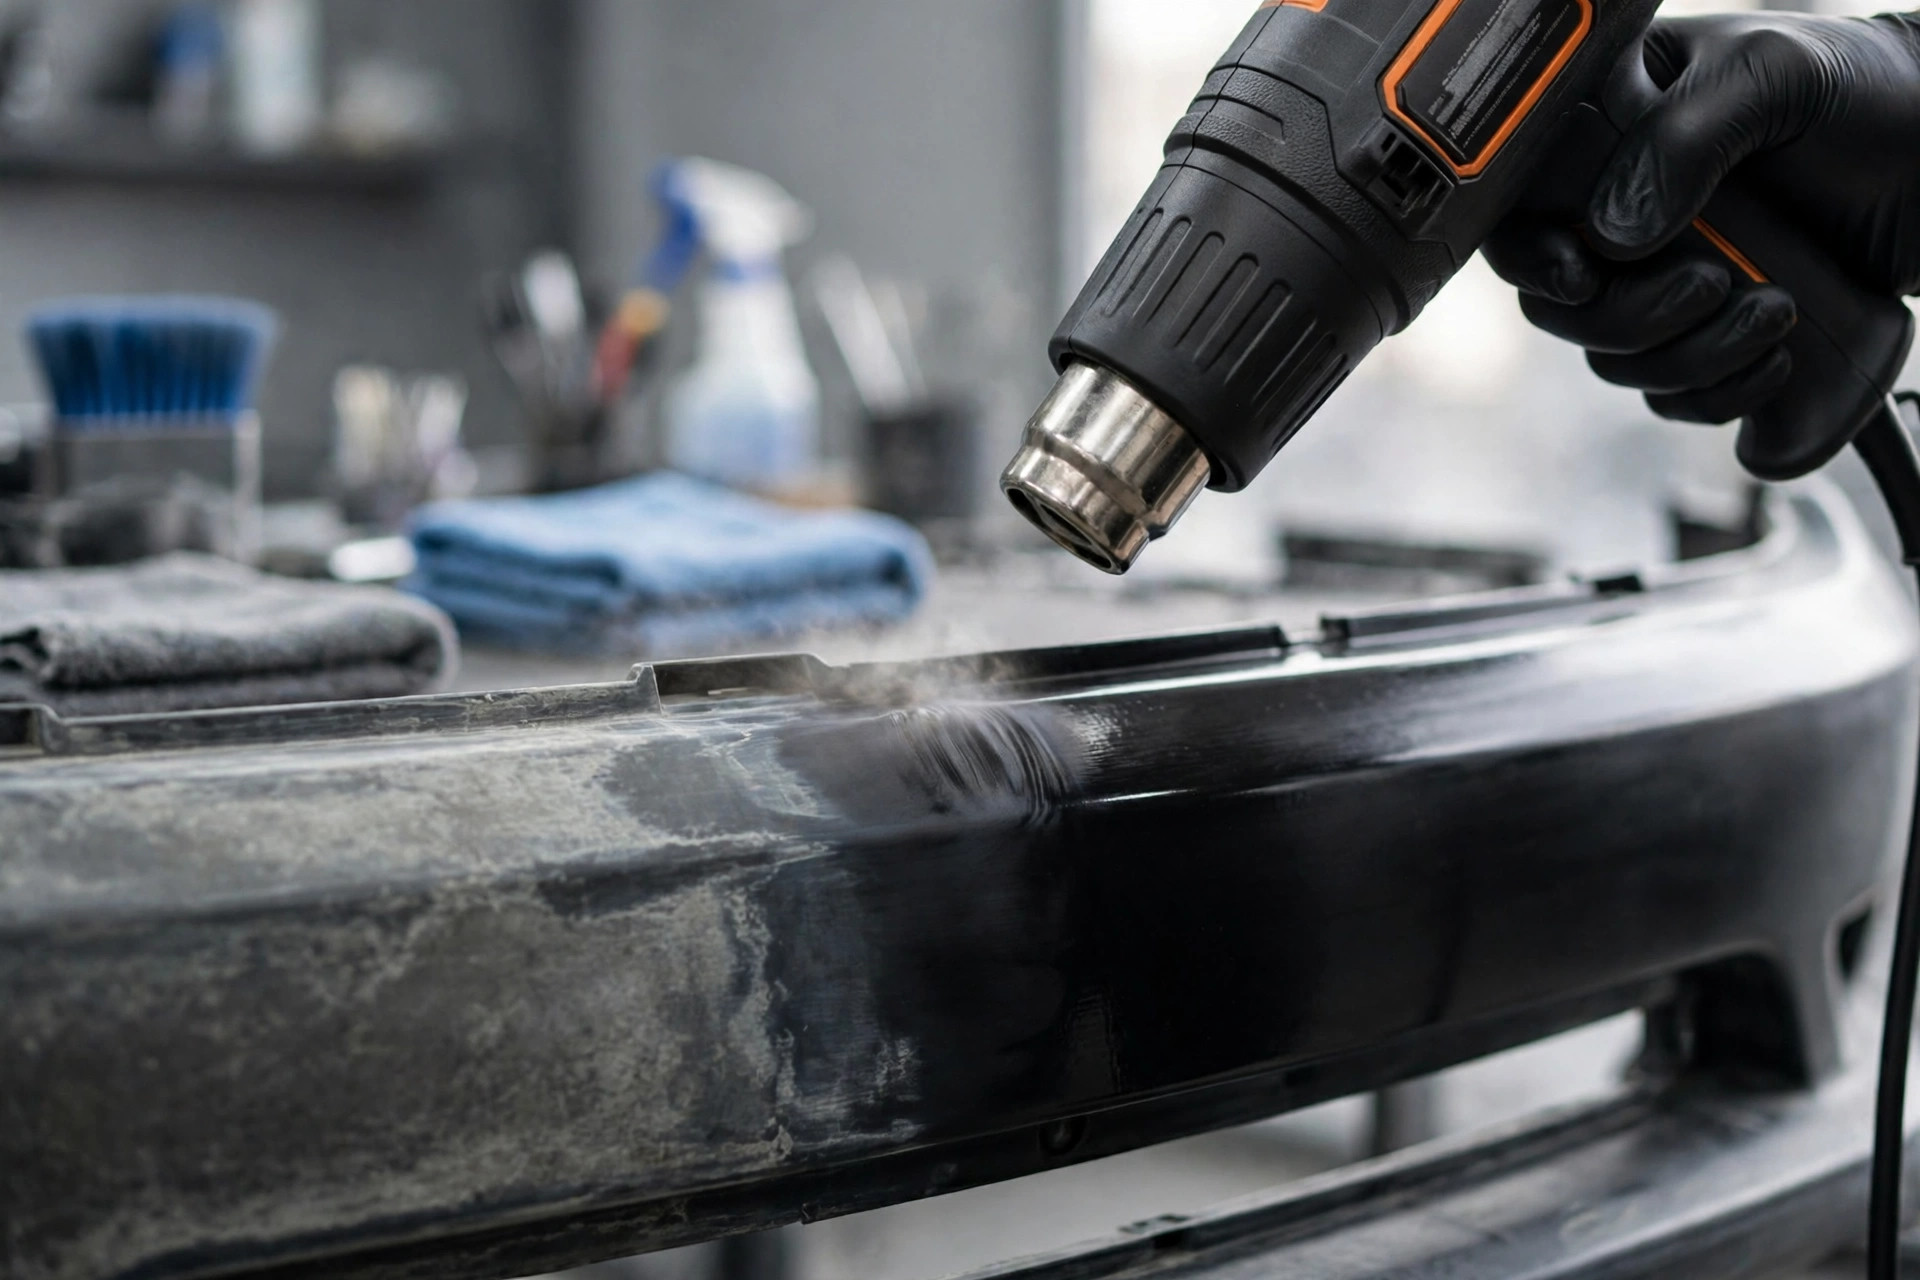
Few detailing tricks look as magical as heat gun trim restoration, whether the person holding the heat gun is a home detailer or a professional reviving faded exterior trim. A gray, chalky bumper that looks years past saving darkens back to deep black in seconds as warm air passes over it, and the transformation feels permanent in a way that no spray dressing can match. The method works because heat temporarily draws the plasticizers and oils back to the surface of the plastic, reversing the visual effect of UV oxidation without adding any product at all. But the same heat that revives trim can just as easily melt it, warp it, or leave blotchy patches that look worse than the fading you started with.
This guide explains how heat gun trim restoration actually works, which plastics respond well to it, the exact technique professionals use, and the safety rules that keep you from turning a bumper into a repair bill. Done right, it is the fastest route to black trim you will ever see. Done wrong, it is the fastest route to the parts catalog.
How Heat Revives Faded Plastic
Black exterior trim is usually made from polypropylene, ABS, or TPO blends, and these polymers contain plasticizers and processing oils mixed through the material. Years of sun exposure drive ultraviolet energy into the surface, breaking down the polymer chains in the top few microns and leaving a layer of oxidized, chalky material that scatters light. That scattering is why the trim looks gray instead of black: the surface is still structurally there, but its micro-roughness reflects light in every direction.
When you apply controlled heat, two things happen. First, the surface layer softens just enough for the rough oxidized micro-texture to reflow and smooth out, which reduces light scattering. Second, heat increases molecular mobility, letting oils and plasticizers from deeper in the material migrate back toward the surface, temporarily restoring the rich dark appearance.
You are not removing the oxidation the way sanding would; you are cosmetically resetting the surface. That distinction matters, because it explains both why the method works so dramatically and why the fading eventually returns as UV damage continues.
Which Plastics Respond to the Heat Gun Method
The best candidates are thick, unpainted, textured black plastics: bumper covers, fender flares, cowl panels, mirror housings, door handles, and textured cladding. These parts have enough material thickness to absorb and dissipate heat safely, and their matte grain hides minor variations in how evenly the heat was applied. Thin, flexible parts like rubber window seals and thin mud flaps are riskier because they reach melting temperature much faster.
Exterior work also overlaps with topics such as Roof Racks on Panoramic Glass Roofs: Mounting Without Cracking the Glass, where protecting the surface matters just as much.
Do not use a heat gun on painted trim, chrome trim, clear-coated plastics, headlights, taillights, or anything with an adhesive film or wrap on it. Painted surfaces will bubble and blister, chrome finishes will delaminate, and polycarbonate lenses can haze or warp. Also avoid interior plastics: dashboards and consoles sit above sensitive electronics, airbag modules, and wiring, and the confined space makes heat control far harder. The heat gun method is an exterior, unpainted-plastic technique only.
Tools and Setup You Actually Need
The heat gun article provides general background on the tool itself.
You need a proper heat gun with adjustable temperature settings, not a hair dryer (too weak to reflow the surface) and not a propane torch (far too hot and impossible to control). A mid-range heat gun with a low setting around 300 to 400 degrees Fahrenheit and a high setting near 1000 is the right tool. An infrared thermometer is the single most useful accessory you can buy for this job: it lets you check surface temperatures in real time and stay well below the 450-degree range where polypropylene starts to deform.
- A proper heat gun with adjustable temperature settings, with a low setting around 300 to 400 degrees Fahrenheit and a high setting near 1000
- An infrared thermometer to check surface temperatures in real time
- A spray bottle of water nearby as an emergency cool-down
- Heat-resistant gloves
Work on a cool, clean vehicle in the shade. Wash and dry the trim first, because dirt and dressing residue baked into the surface by heat will look worse than before. Keep a spray bottle of water nearby as an emergency cool-down, wear heat-resistant gloves, and make sure nothing flammable is near your work area. If the trim is removable, taking it off the car gives you better control and eliminates the risk of heating adjacent paint, but most people do this work with the parts still installed.
Care routines for other equipment follow a similar dry-it-properly logic, as in Drying and Deodorizing Wet-Dry Car Vacuums After Every Wet Pickup.
The Step-by-Step Technique
Start with the heat gun on its lowest effective setting and hold it six to eight inches from the surface, keeping it in constant motion. Never park the nozzle in one spot, even for a second. Sweep across the trim in slow, overlapping passes, the way you would spray paint, and watch the color change follow behind the nozzle.
You will see the gray fade to black almost immediately on good candidates. If nothing is happening after several passes, move one step closer or bump the heat up one notch, but resist the urge to rush.
Work in small sections of about a foot at a time, and let each section cool for thirty seconds before inspecting it. The darkening deepens slightly as the plastic cools, so judge the final result after cooling, not while the surface is still hot. Keep the nozzle moving at all times and keep your other hand behind the gun so you never touch the heated surface.
On textured bumpers, follow the direction of the grain for the most even finish. When you reach edges and mounting points, angle the heat away from painted panels and use short passes to avoid heat soak in one area.
Safety Rules That Prevent Disaster
The number one rule is that you can always add more heat, but you can never take it back. Warping, blistering, and a melted glossy patch are permanent. If the plastic starts to look shiny or wet beyond the normal darkening, back off immediately: that gloss means the surface is approaching its melting point. If you see any rippling or softness, stop and let the part cool completely before deciding whether to continue.
Stay clear of fuel filler doors, washer nozzles, and any area where flammable vapors might be present. Do not heat trim while a dressing or solvent-based product is still on it, because some of those products are flammable and others will bake into permanent streaks. Take frequent breaks on large bumpers so heat does not build up in the part faster than it can dissipate. And if you are working near paint, shield it: painter’s tape on adjacent panels buys you a small margin of safety, and the most common trim restoration mistakes almost always trace back to rushing the heat.
How Long the Results Last
Heat gun restoration typically lasts several months to over a year depending on sun exposure, climate, and whether you protect the surface afterward. The fading returns because the underlying UV damage was never removed, only cosmetically reset, and continued sun exposure keeps degrading the plastic. Cars parked outdoors in strong sun will fade again noticeably within three to six months; garaged cars can hold the result for a year or more.
The single best way to extend the result is to seal the surface immediately after it cools with a proper trim protectant or ceramic trim coating. The heat has given you a clean, dark baseline; a UV-blocking top layer slows the re-oxidation that would otherwise restart right away. Think of the heat gun as the restoration step and the coating as the preservation step, and real-world longevity data for every trim method shows that pairing the two consistently beats either one alone.
Heat Gun vs Dressings, Dyes, and Coatings
Compared with spray dressings, the heat gun wins on durability and loses on convenience: a dressing takes thirty seconds to apply but washes off in weeks, while heat takes an hour of careful work but lasts months. Compared with trim dyes, heat is cheaper and faster but less permanent; a quality dye penetrates and recolors the plastic for years, while heat only resets the surface. Compared with ceramic trim coatings, heat is a preparation step rather than a competitor: coatings last longest when applied to plastic that is already dark and clean, which is exactly what the heat gun produces.
If you want to understand the full landscape before choosing, every back-to-black method ranked by cost, effort, and durability and the science of why black trim fades in the first place are worth reading next.
For many people, the sweet spot is heat first, then a trim coating on top. That combination delivers the dramatic instant result of the heat gun with the multi-year durability of a ceramic layer, at a fraction of the cost of replacement parts.
Related posts:


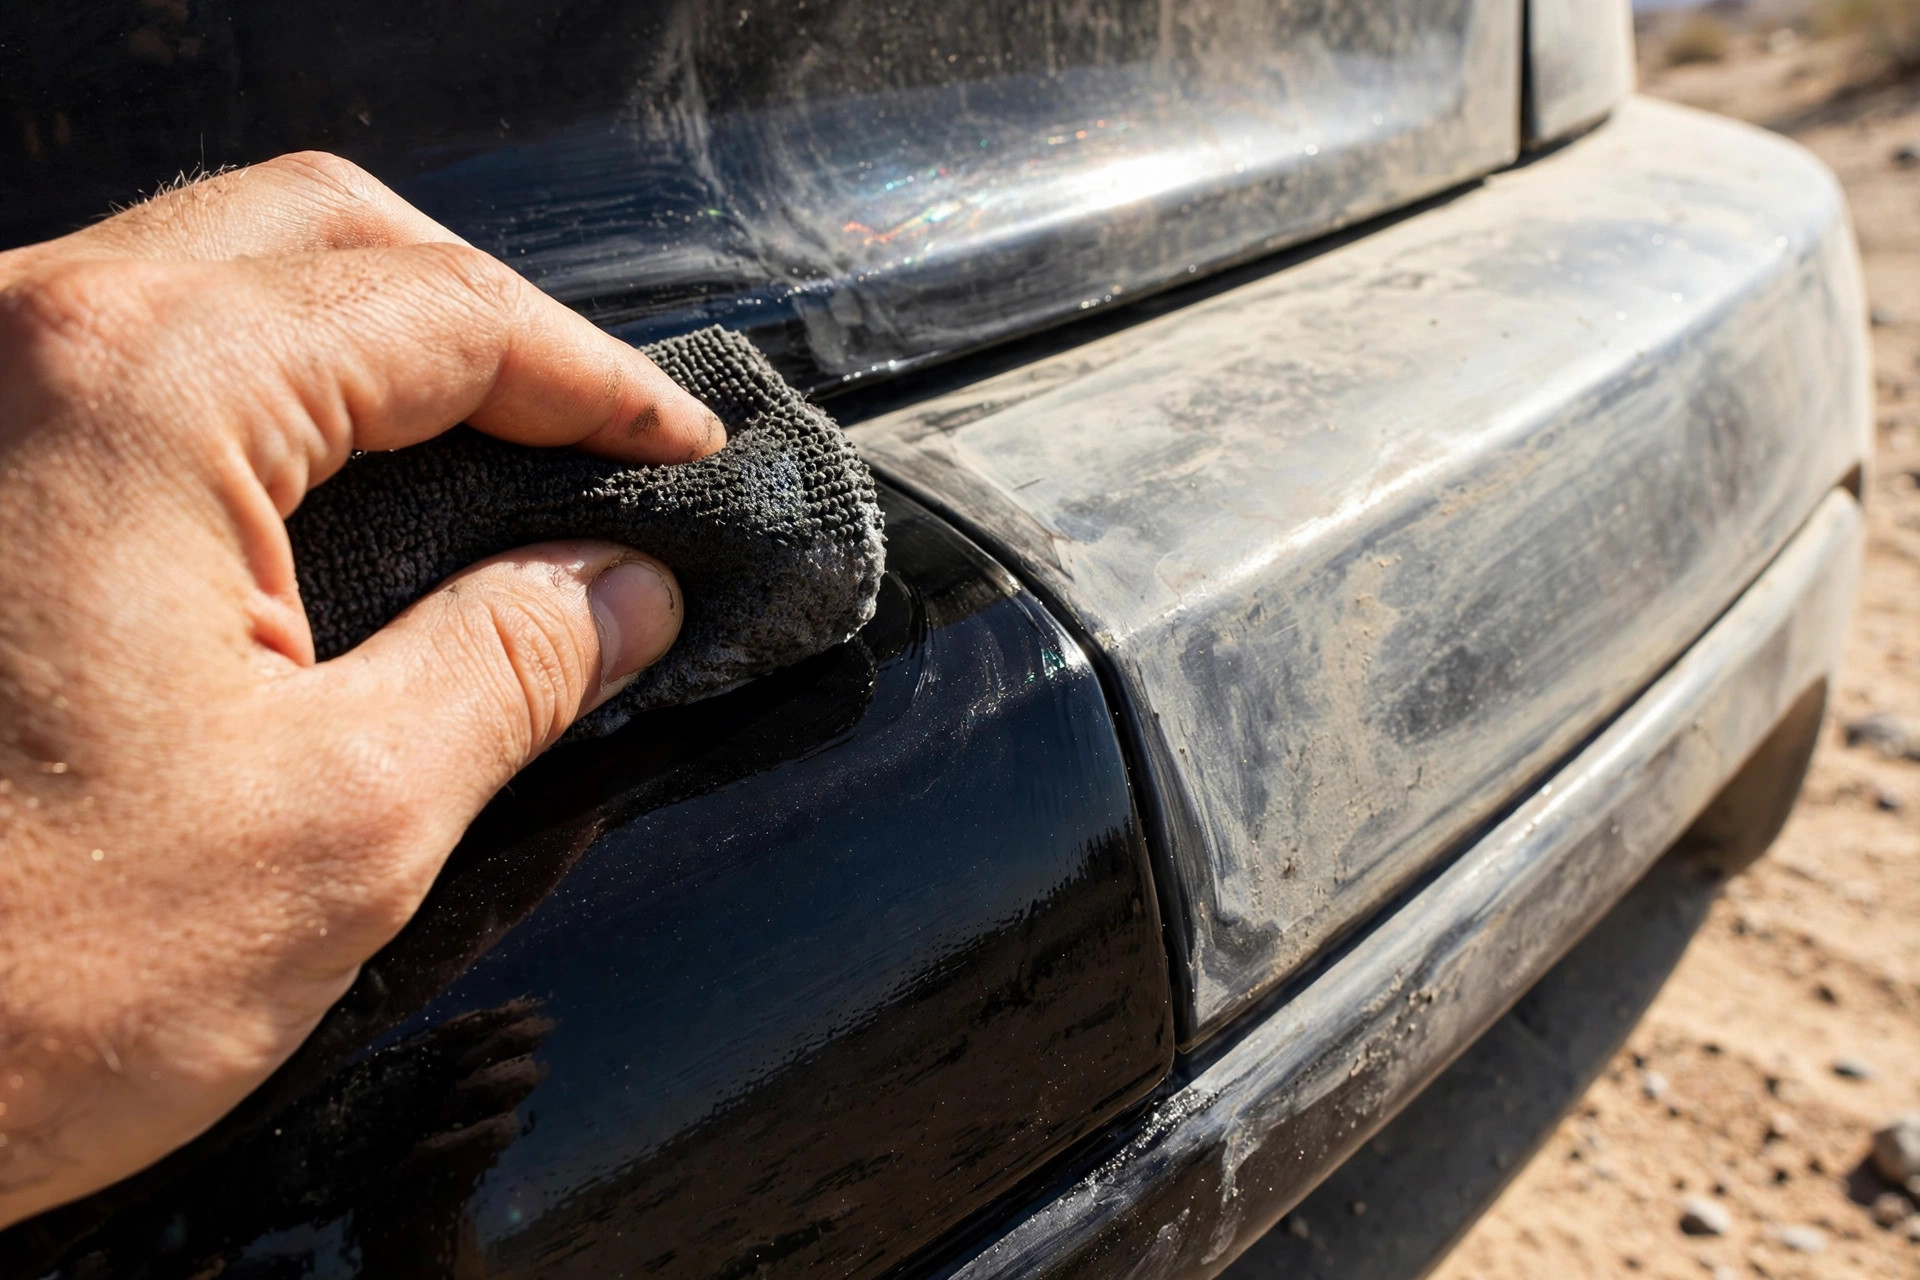
Before you roll on, check out Masking Exterior Trim Before Polishing: Tape Techniques That Protect Black Plastic — it builds on exactly what you just read.
Found this useful? Pass it on to a friend who would appreciate it too.

