
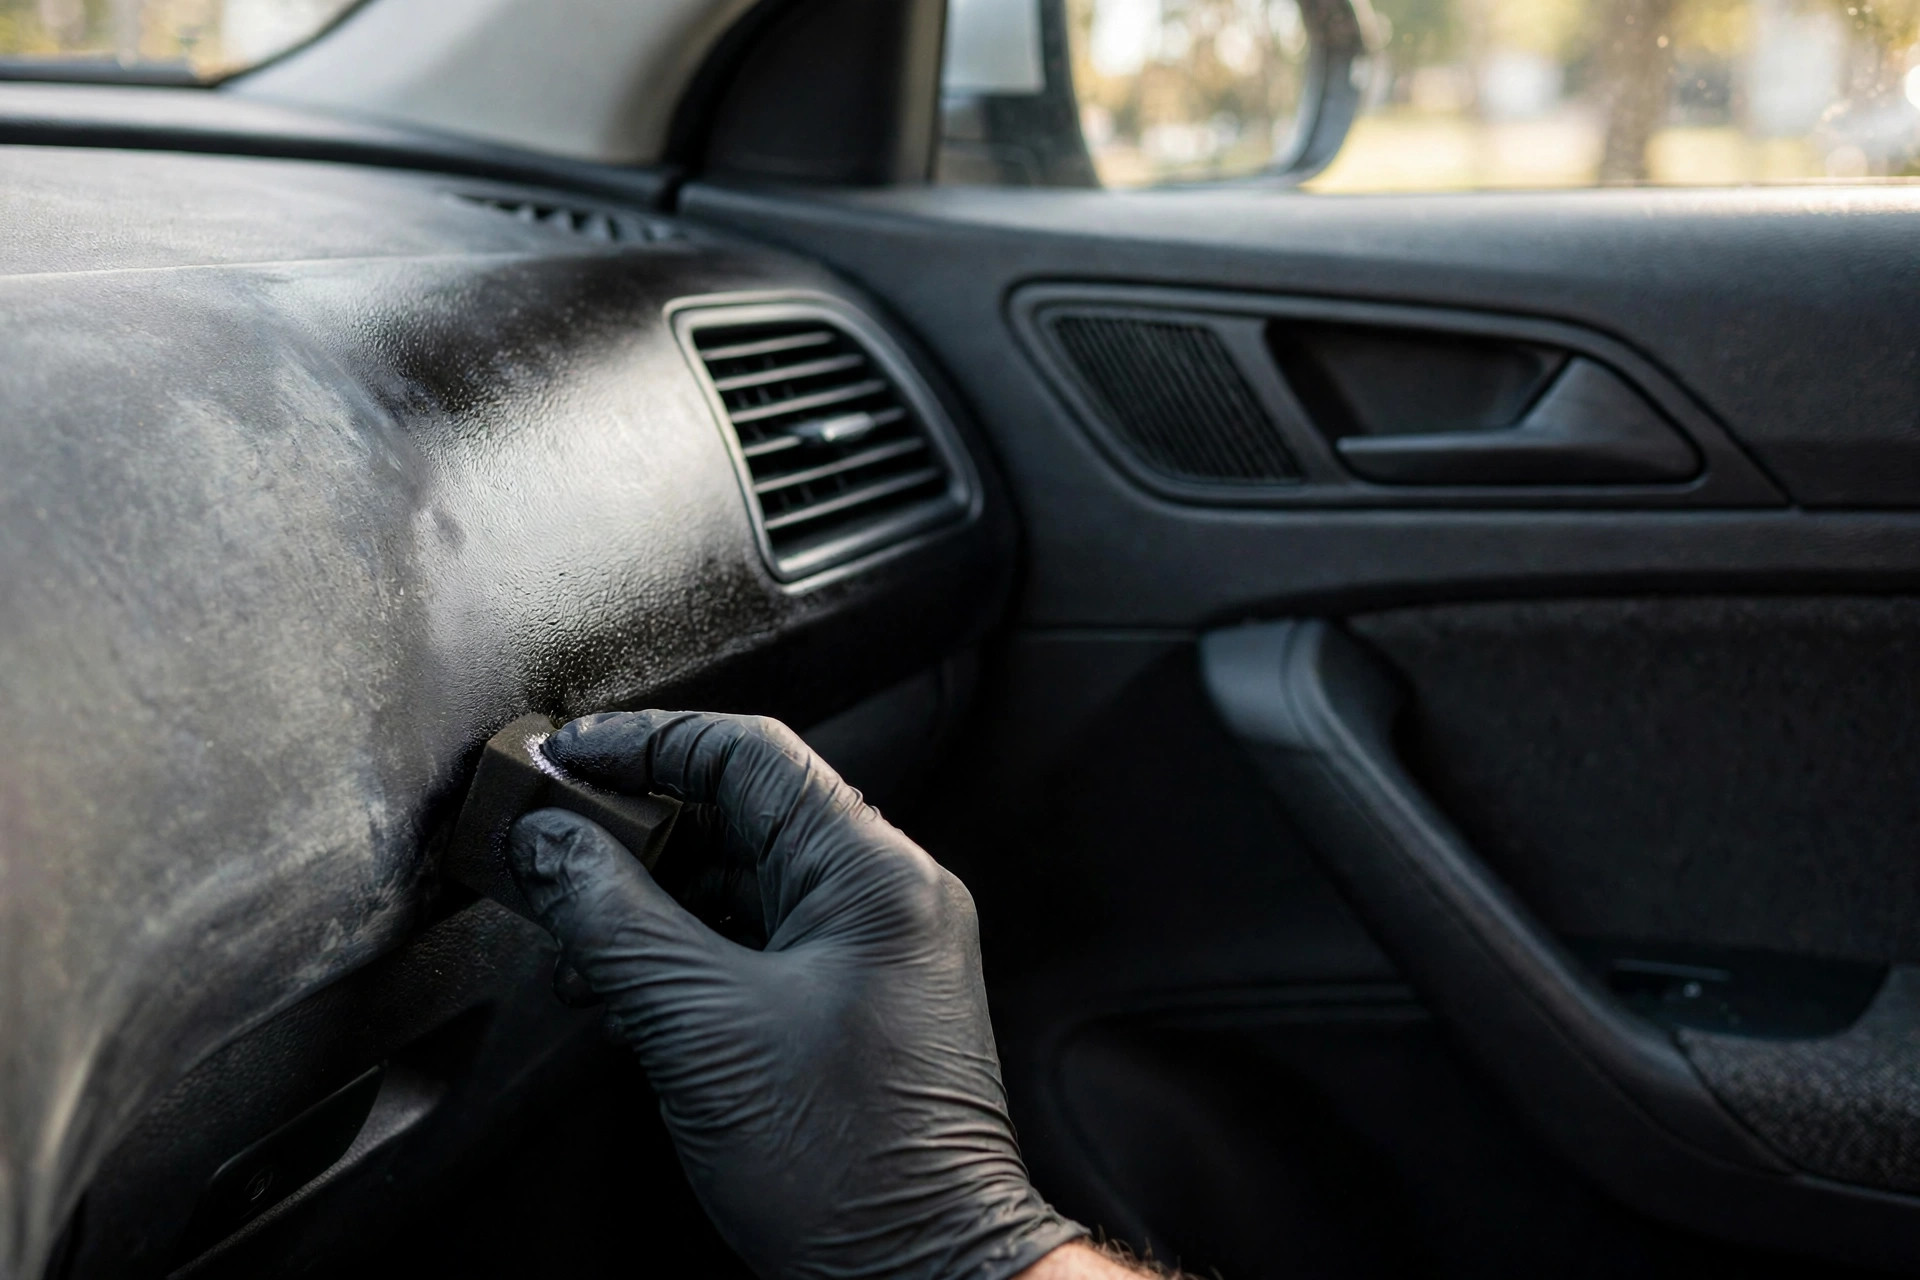
Exterior trim gets all the attention, but interior plastics fade too, which is why anyone restoring a cabin needs to know what fades inside the car, where it happens, and how it differs from exterior work. Dashboards develop a chalky haze along the top where the windshield focuses sunlight, center consoles show shiny worn patches where hands and elbows have polished the grain smooth, and door panels pick up scuffs, scratches, and a dull film that no wipe-down seems to fix. Because you sit inside the car every day, these are the surfaces you actually look at, and tired interior plastic makes the whole cabin feel older than the odometer says.
Restoring interior plastics is a different discipline from exterior work. The plastics are thinner, the textures are finer, the stakes are higher because you touch these surfaces constantly, and anything you apply has to survive heat, UV through the glass, and daily contact without feeling greasy or looking shiny. This guide walks through diagnosing interior plastic wear, cleaning it properly, and choosing restoration products that look factory-fresh rather than detailed-for-a-day.
A full cabin refresh may also involve Car Odor Removal After Vacuuming: Baking Soda, Enzymes, and Ozone Explained.
Why Interior Plastic Fades and Wears
Interior plastics fail through three mechanisms. UV radiation streaming through the windshield and side glass breaks down the surface just like it does outside, though more slowly; the dashboard top and the tops of door panels take the worst of it. Mechanical wear polishes the factory grain smooth wherever hands, elbows, seatbelts, and cargo make contact, turning matte textures glossy in patches. And chemical damage comes from the wrong cleaners: harsh all-purpose cleaners, alcohol-heavy wipes, and household products strip the plasticizers and the factory matte coating, leaving plastic that looks dry and feels chalky.
The result is a patchwork: faded tops, shiny touch points, and dull everything else. Understanding which mechanism caused each symptom matters because the fixes differ. UV fade responds to restoration products and dyes.
Mechanical wear, where the grain itself is polished away, cannot be restored by any liquid; it needs refinishing or acceptance. Chemical damage sometimes reverses with proper cleaning and reconditioning, which is why the cleaning step is never optional.
The plastic article gives broader background on the material family these parts come from.
Deep Cleaning Comes Before Everything
Most “faded” interior plastic is at least partly just dirty. Years of dust, skin oils, sunscreen, and off-gassed vinyl residue form a film that mutes the color and texture. Before you buy any restorer, do a proper deep clean: vacuum the crevices, then work an interior-safe all-purpose cleaner or dedicated interior cleaner into the plastic with a soft detailing brush, agitating the grain to release embedded grime. Wipe with a damp microfiber, then a dry one, and inspect in good light.
- Vacuum the crevices first
- Work an interior-safe all-purpose cleaner or dedicated interior cleaner into the plastic with a soft detailing brush, agitating the grain
- Wipe with a damp microfiber, then a dry one
- Inspect the surface in good light before choosing any restorer
Tool choice matters here, as Car Detailing Brushes for Vents, Seams, and Buttons: Choosing the Right Bristle explains in detail.
You will often find the plastic underneath looks dramatically better, sometimes good enough that no restorer is needed. For textured areas, the brush is the key tool: a towel alone skims over the grain while the brush reaches into it. Avoid steam on a first pass over unknown plastics, and never use exterior trim dressings inside the car; they are formulated for UV resistance, not for touch, and they leave a greasy film that attracts dust and transfers to clothes. If you are planning a full cabin refresh, interior restoration planning helps you sequence seats, dash, and trim work sensibly.
Dashboards and Sun-Damaged Top Surfaces
The dashboard top is the hardest-working interior surface: it faces the windshield, absorbs the most UV, and cycles through the biggest temperature swings. Fading here shows as a light gray or brown haze, sometimes with a crackled texture on older cars where the surface has started to craze. Start with deep cleaning, then evaluate: if the texture is intact and only the color is faded, a quality interior plastic restorer or a matte trim coating brings it back.
Apply interior products sparingly in thin, even coats, and buff off any excess. The goal is the factory low-sheen look, not a wet shine; an overly glossy dash looks cheap and creates windshield glare, which is a genuine safety issue. If the dash is cracked or the surface is crazed, no liquid product fixes it: your options are a dash cover, professional refinishing, or replacement.
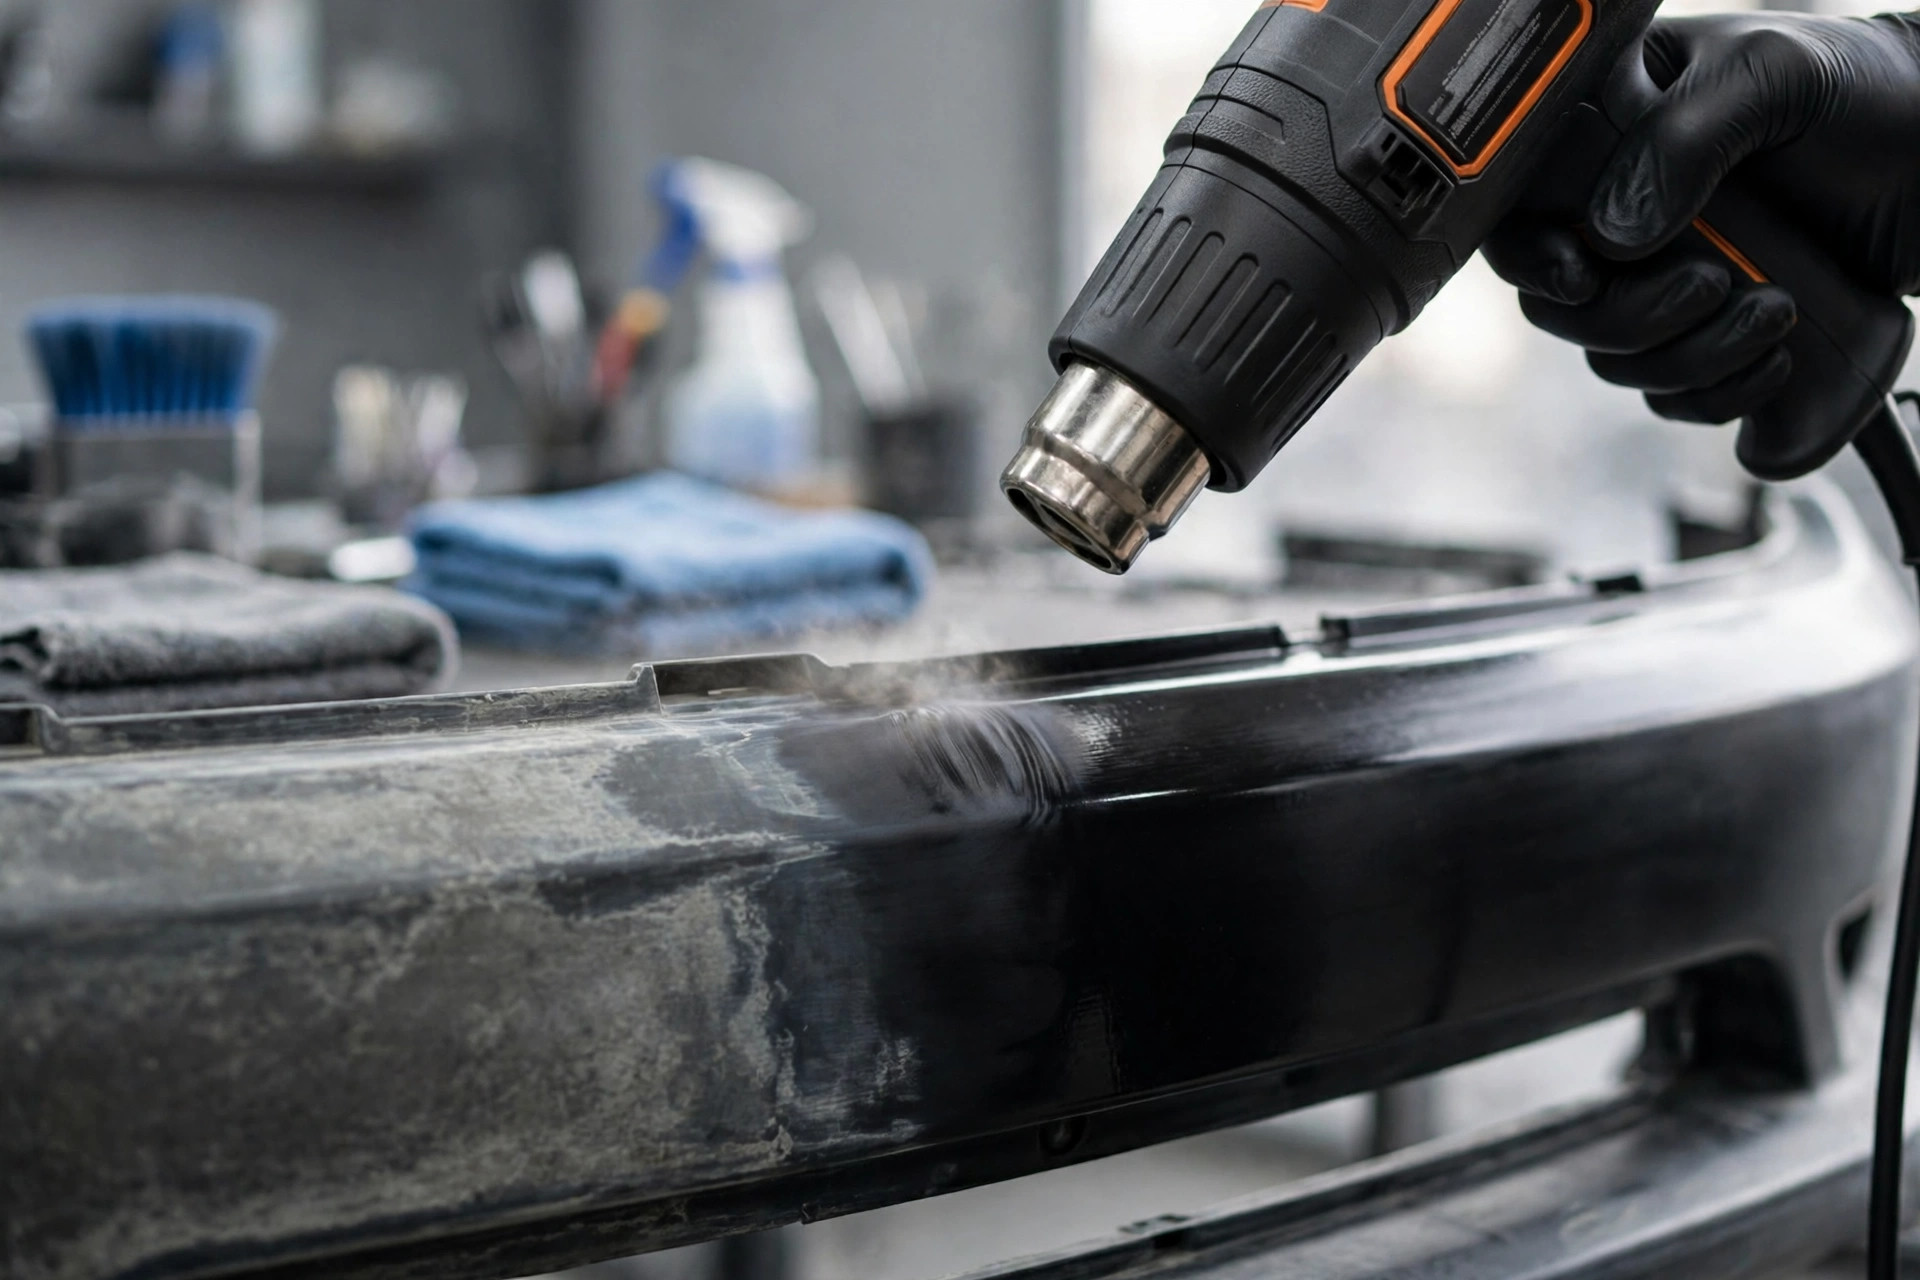
Do not use a heat gun on dashboards. The plastic is thin, the substrate underneath can warp, and the area above the passenger airbag is not a place for improvisation.
Consoles, Armrests, and High-Touch Areas
Center consoles, armrests, shifter surrounds, and steering wheel trim wear differently: the issue is usually shine, not fade. Constant contact polishes the matte grain smooth, and skin oils darken some plastics while bleaching others. Cleaning removes the oil buildup, but the polished-smooth texture remains, and that is a physical change no dressing reverses.
For these areas, choose products that restore an even matte appearance without adding slickness. Thin coats of a matte interior coating even out the sheen difference between worn and unworn areas. If the wear is severe, trim-specific dyes formulated for interior use recolor the plastic permanently and survive touching far better than dressings, which is exactly the trade-off explored in trim dye versus trim dressing. For door panel inserts and armrest pads showing wear, door trim covers and panel upgrades can be a smarter fix than endless reapplication.
Door Panels, Kick Plates, and Scuff Marks
Door panels take abuse from shoes, seatbelts, and cargo. Black scuff marks from shoe rubber often look like permanent damage but usually are not: they are rubber transfer sitting on top of the plastic, and a melamine sponge used gently, or an interior cleaner with a brush, removes most of them. Work carefully with melamine sponges, though; they are micro-abrasives and can polish the grain smooth if you scrub aggressively.
Deep scratches that cut into the plastic will not disappear, but they can be minimized. Lightly feathering the edges of a scratch with a fine abrasive, then recoloring with a matching dye or interior coating, makes damage far less visible. Kick plates and sill trims, the most scuffed parts of all, are often inexpensive to replace outright, and new ones transform the entry area of the car. Judge each panel honestly: an hour of careful work on a visible door panel is worth it; the same hour on a hidden kick plate is not.
Choosing Products That Do Not Look Greasy
The defining requirement for interior plastic products is the finish: matte or satin, never glossy, and dry to the touch within minutes. Water-based interior dressings and matte ceramic interior coatings are the modern standard; they darken faded plastic, add UV protection for the dash top, and do not transfer to hands or clothes. Silicone-heavy exterior dressings fail every one of these tests inside the cabin.
Read labels for “interior safe” and check that the product is not flammable once cured in an enclosed cabin. Apply in thin coats and level the product with a clean microfiber; thick coats pool in grain and crevices and cure into shiny patches. Less is genuinely more here. And whatever you choose, know how long the result should last so you can tell the difference between a product wearing off normally and one that was wrong for the job.
When to Dye, Refinish, or Replace
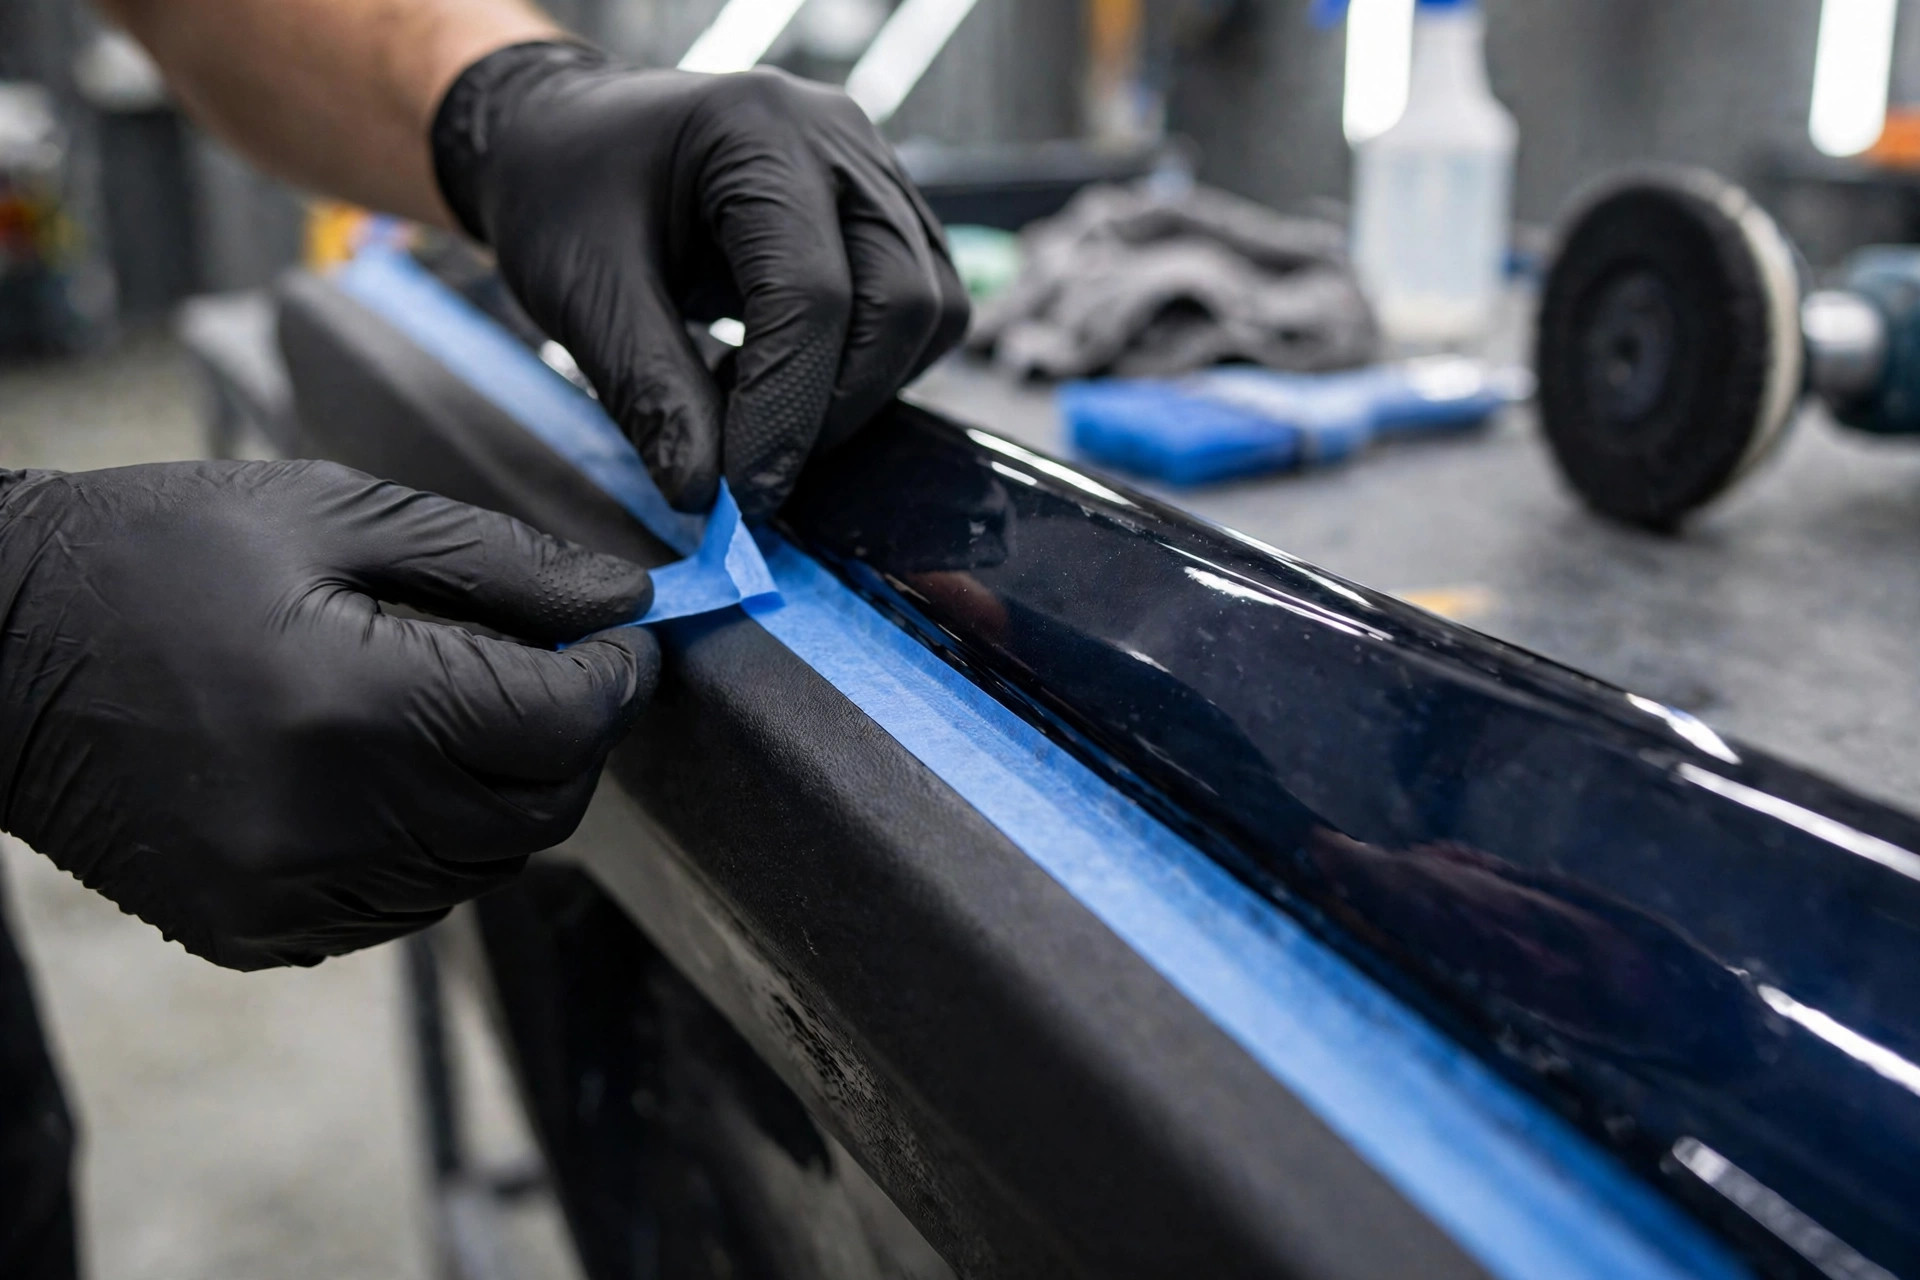
Dye becomes the right answer when cleaning and coatings cannot fix the problem: deep UV fade with intact texture, color mismatch after partial repairs, or high-touch areas where dressings never survive. Interior trim dyes bond with the plastic and survive years of touching, but they demand careful masking and ventilation, and the color match has to be right because there is no easy undo.
Replacement makes sense for parts that are cheap and easy to swap: kick plates, vent surrounds, cup holder inserts, and trim clips that break on removal. Refinishing by a professional, using flexible interior paints matched to the factory color, sits between dye and replacement in cost and handles large areas like full dashboards. Whatever route you take, fix the cause too: a windshield sunshade is the cheapest interior plastic protection ever made, and the same careful approach used on steering wheels applies to every high-touch surface in the cabin.
Related posts:

Every Detailing & Car Care article adds another tool to the shed. The related reads below are worth a spin.
Found this useful? Pass it on to a friend who would appreciate it too.

