
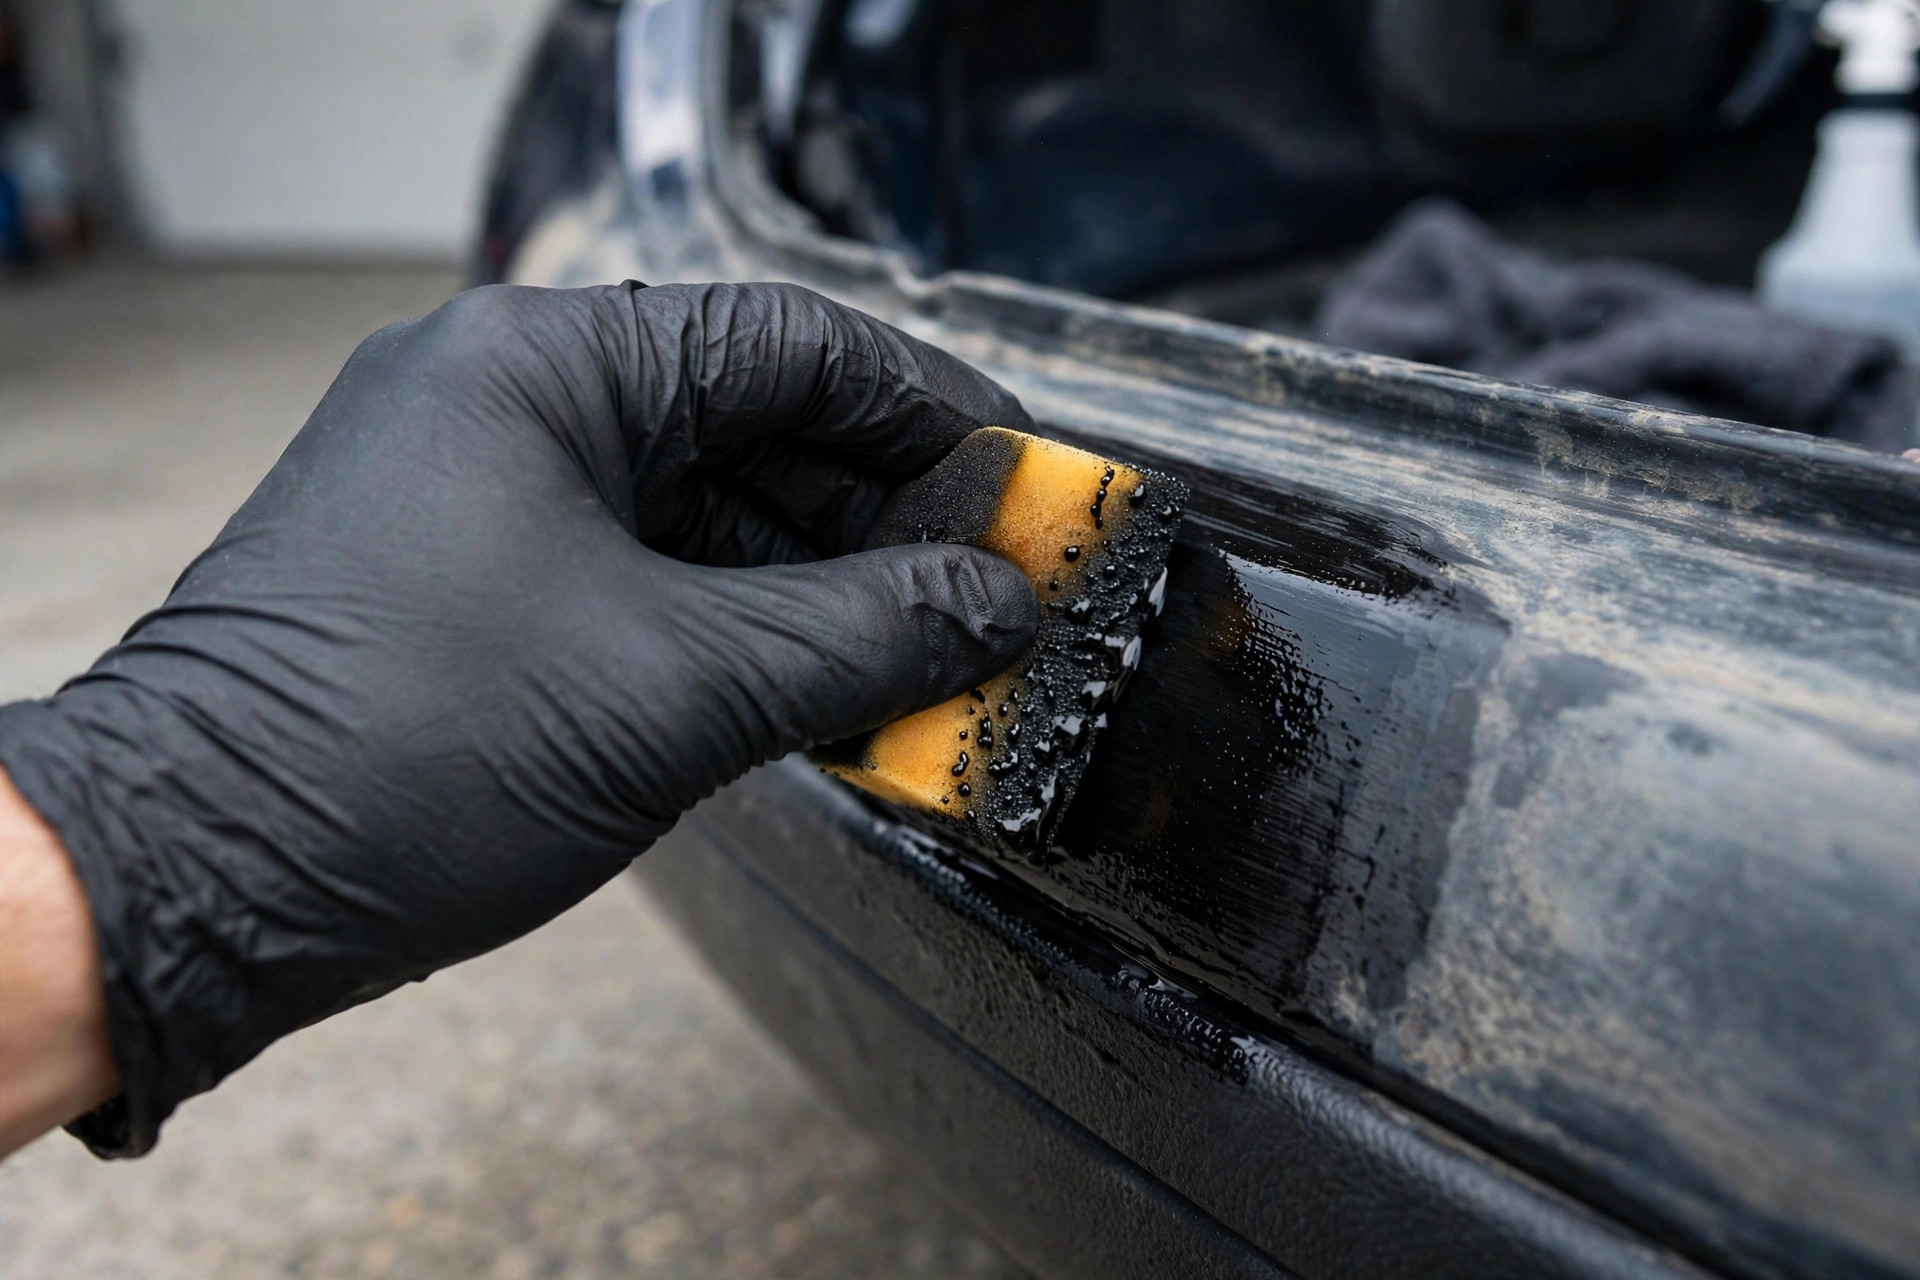
Trim dressings wash off, and ceramic coatings eventually wear. When that happens, who can restore faded black plastic for good, and how? Trim dye is the option people reach for when they are done reapplying: a dye penetrates the plastic and recolors it from within, producing a finish that survives rain, car washes, and years of sun without the weekly ritual. It is the closest thing to a permanent fix for faded black plastic, and it costs a fraction of replacement parts.
But dye is unforgiving. It stains everything it touches, the color choice is final, and sloppy prep shows through the finished job like a bad paint job. This guide walks through the full process: choosing the right dye, prepping the plastic so the dye bonds, applying it in thin even coats, and curing it for maximum durability.
Why Dye Instead of Dressing
A dressing sits on top of the plastic like lotion on skin: it darkens by adding a glossy or satin film, and every wash, rainstorm, and hot day removes a little more of it. A dye works more like a stain on wood: its pigments and carriers penetrate the top layer of the plastic and bond with it, so the color becomes part of the surface rather than a film on top of it. That is why a dyed bumper still looks black after a year of automatic car washes while a dressed one needs reapplication monthly.
The trade-off is commitment and effort. Dressing takes minutes and washes off if you dislike it; dye takes hours of prep and application and is effectively permanent. Dye also cannot fix texture damage: if the plastic is chalky and crumbling, dye colors the crumble. For a full comparison of the chemistry and lifespan differences, trim dye versus trim dressing breaks down when each approach makes sense.
Types of Trim Dye and How They Differ
Most consumer trim dyes are solvent-based liquids applied with a foam applicator, sponge, or spray. They use strong carriers that open the plastic surface slightly so pigment can penetrate, then flash off to leave the color behind. Professional products in this category have been refined over decades and are the default recommendation for DIY work: forgiving application, deep penetration, and multi-year durability when prepped correctly.
A second category is dye-infused coatings and “permanent” trim restorers that behave like a hybrid between a dye and a ceramic coating: they bond chemically and build a thin protective layer. These tend to be easier to apply evenly but may not penetrate as deeply on severely oxidized plastic. Aerosol trim paints are a third option, technically paint rather than dye, and they work well on smooth plastics but can fill in fine texture on grainy bumpers if applied too heavily. Match the product type to your plastic: penetrating dyes for textured raw plastic, coatings for lightly faded surfaces, aerosols for smooth parts you would otherwise paint.
Choosing the Right Color and Finish
Black trim dye is not one color. Factory black plastics range from deep jet black to charcoal gray-black, and a dye that is darker than the original finish looks obviously aftermarket next to undyed parts. If only one bumper is being dyed, match the dye to the other bumper or the remaining trim; if the whole car is being done, a rich neutral black is the safe choice. Some dyes come in satin and matte versions: matte matches most factory textured trim, while satin suits smoother parts.
Test on a hidden spot first, like the back of a mirror housing or the lower edge of a bumper, and let it cure fully before judging the color. Dye darkens slightly as it cures, and the wet color is not the final color. This test patch also confirms the dye bonds to your specific plastic, which matters because some modern TPO blends and previously coated parts resist penetration.
Preparation: The Step That Decides Everything
Dye bonds to clean, decontaminated plastic and fails on anything else. Wash the trim, then degrease aggressively: all-purpose cleaner, a stiff brush for textured grain, and multiple passes until a white towel wiped across the surface comes away clean. Old dressings are the enemy here; silicone-based dressings in particular block dye penetration and cause blotchy, patchy results. If the trim has years of dressing buildup, a dedicated wax and grease remover or isopropyl alcohol wipe-down after the APC scrub is worth the extra time.
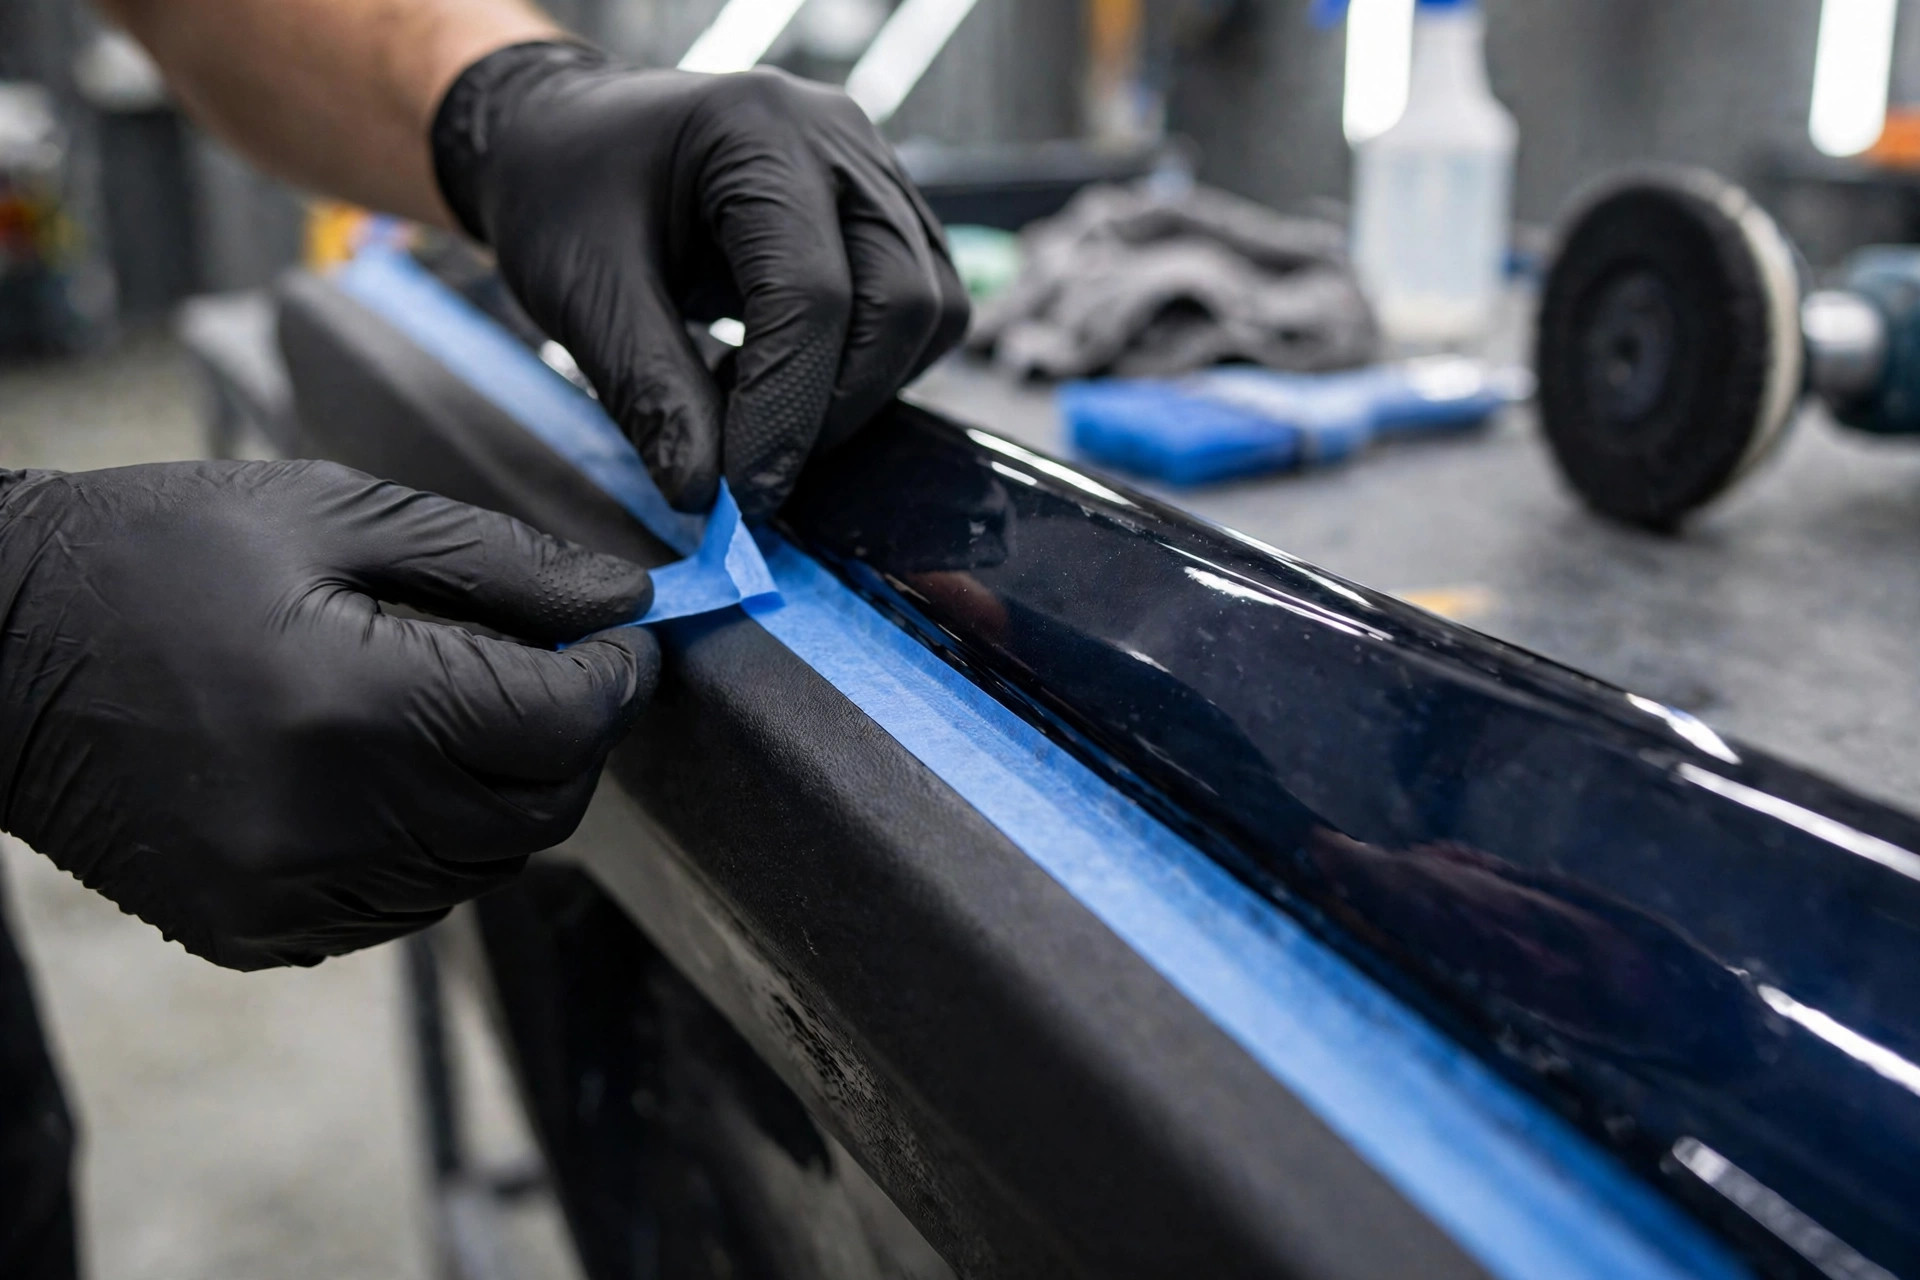
Mask everything adjacent: paint, glass, rubber seals, emblems. Dye stains paint and glass on contact, and overspray on a windshield is a miserable cleanup. Remove the trim from the car if you can; if not, mask generously and work in the shade on a cool surface.
Let the plastic dry completely before applying dye. Moisture trapped in the grain interferes with penetration and causes light spots, and the classic restoration mistakes are dominated by prep shortcuts.
Application: Thin Coats Win
Apply dye in thin, even coats with a foam applicator, working it into the grain in one direction. Thin coats penetrate evenly and cure uniformly; thick coats pool, cure blotchy, and waste product. Two to three thin coats, with flash time between them per the product instructions, beat one heavy coat every time. On textured bumpers, follow the grain direction to avoid pushing excess dye into the low spots.
Work in manageable sections and maintain a wet edge the way you would when painting, so you do not get lap marks where sections meet. Keep a clean, dry foam pad or microfiber handy to immediately level any drips or runs. If you are spraying, use light mist coats from a consistent distance and build coverage gradually. Patience here is the entire difference between a factory-looking result and an obvious DIY job, and it is why method comparisons consistently rank dye high on durability but demanding on technique.
Curing, Aftercare, and Durability
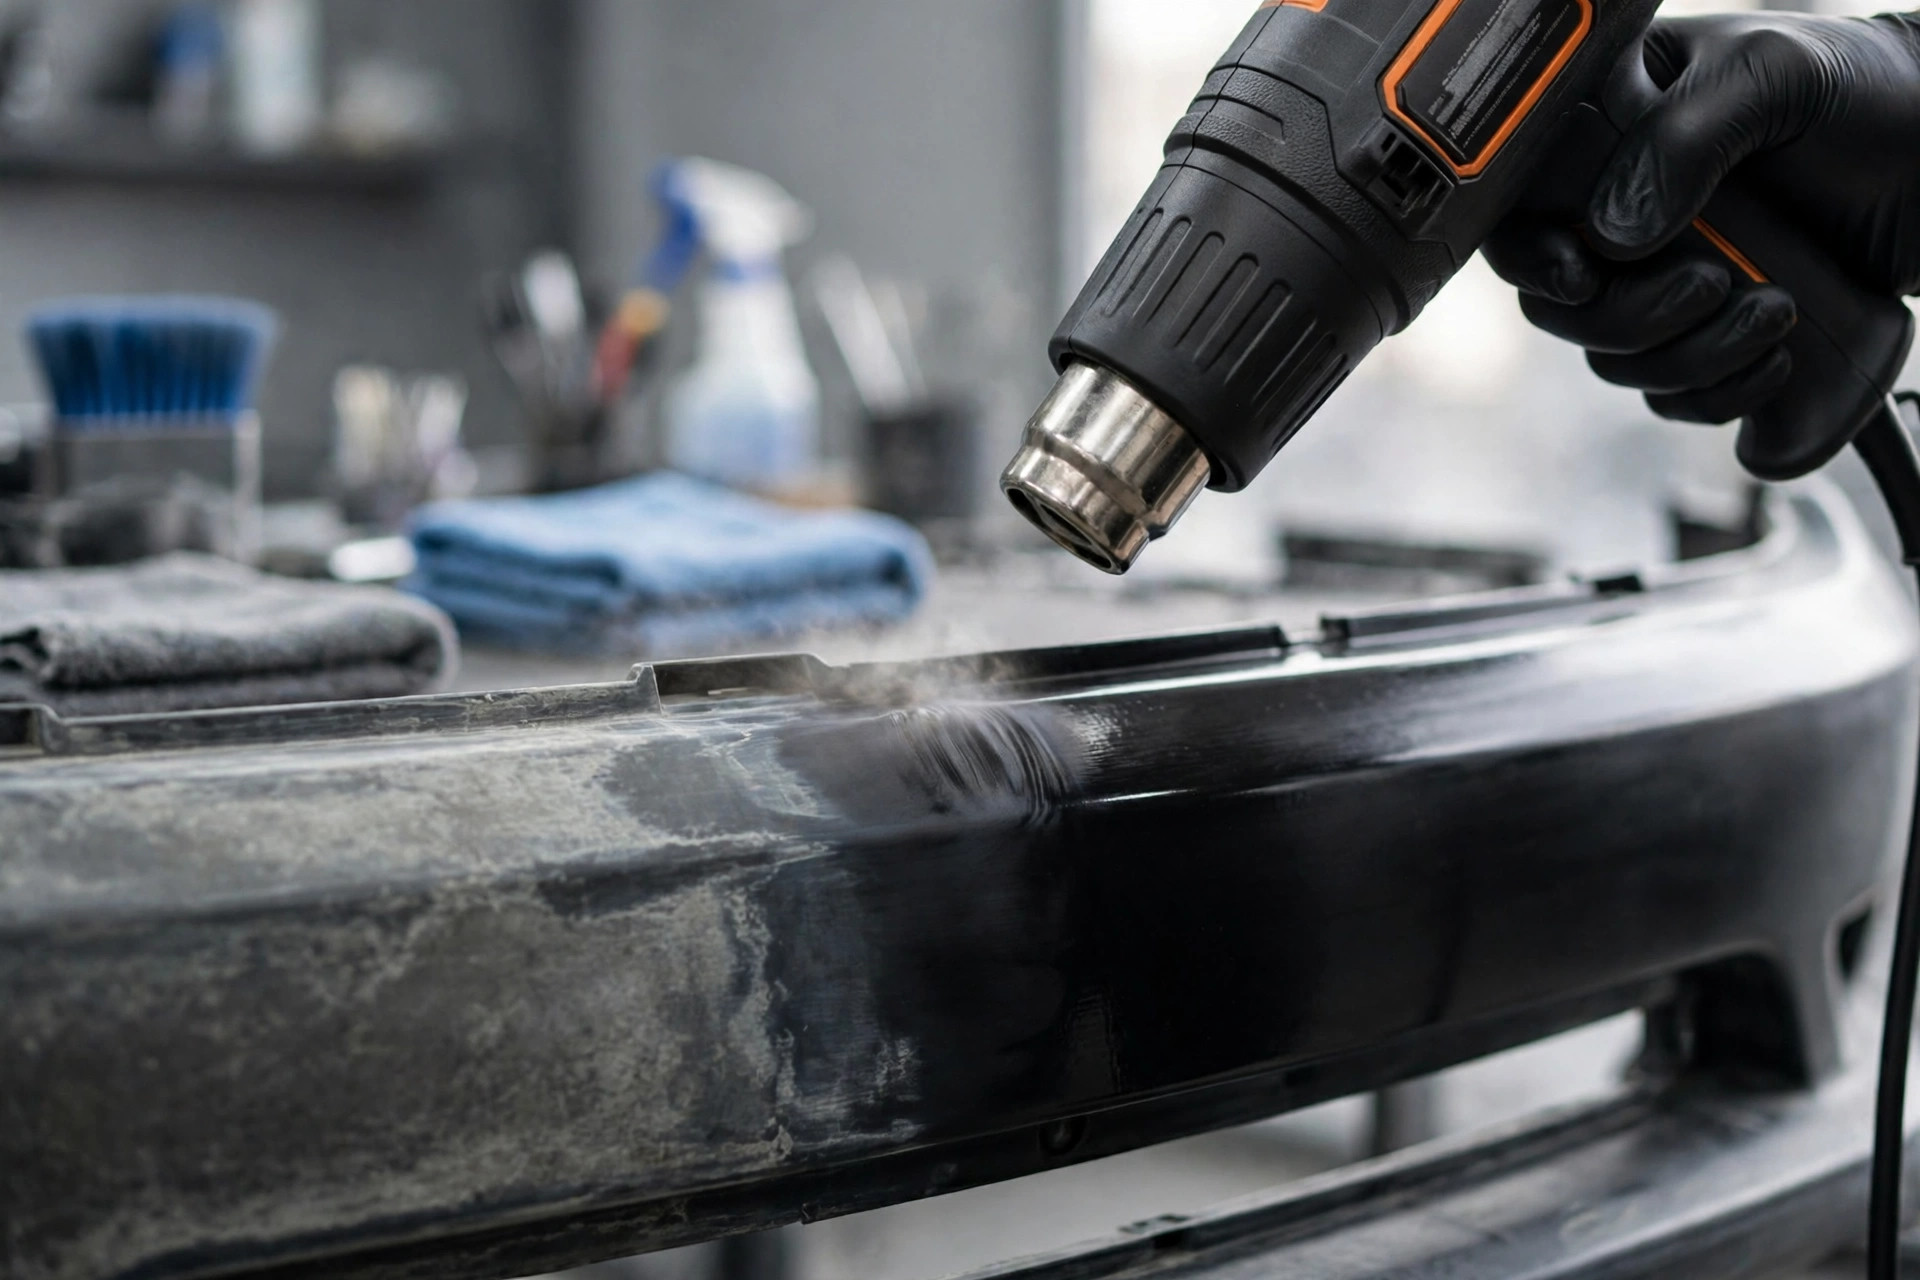
Let the dye cure for the full time the manufacturer specifies, typically 24 hours before water exposure and several days before waxing or coating over it. Curing is when the carriers fully evaporate and the pigment locks into the plastic; rushing this step with an early wash is the most common reason dye jobs underperform. Keep the car dry and out of heavy rain during the cure window if possible.
Once cured, a quality dye job lasts two to five years depending on sun exposure, with garaged cars at the long end. Maintain it like normal trim: regular washing, and a UV-protectant top layer extends the life further. Longevity testing across methods shows dye among the longest-lasting DIY options, which is why the upfront effort pays off. If fading eventually returns, the surface can usually be cleaned and re-dyed without stripping, since the old dye is bonded into the plastic rather than layered on top.
Trim work rarely stands alone in a full detail, and the same finish-the-job-properly habit applies elsewhere in the car. Related routines on this site include How to Clean Under Child Car Seats: Crumbs, Stickiness, and Protector Mats and Drying and Deodorizing Wet-Dry Car Vacuums After Every Wet Pickup.
Common Dye Mistakes and How to Avoid Them
The four most common mistakes are:
- Dyeing over old dressing: the dye bonds to the dressing instead of the plastic, and the first few washes take both off in patches.
- Applying too thick, which causes runs, blotches, and a plastic-dipped look.
- Skipping the test spot and discovering the color is wrong after the whole bumper is done.
- Dyeing in direct sun on hot plastic, which flashes the carriers too fast and prevents penetration.
All four are preventable with the process above: strip old products completely, apply thin coats, test first, and work in the shade. Dye rewards the methodical and punishes the hurried, but for anyone tired of the dressing treadmill, it is the most satisfying weekend project in trim care. Compare the full product landscape in trim restorer products compared before you buy, and you will choose with confidence.
Related posts:
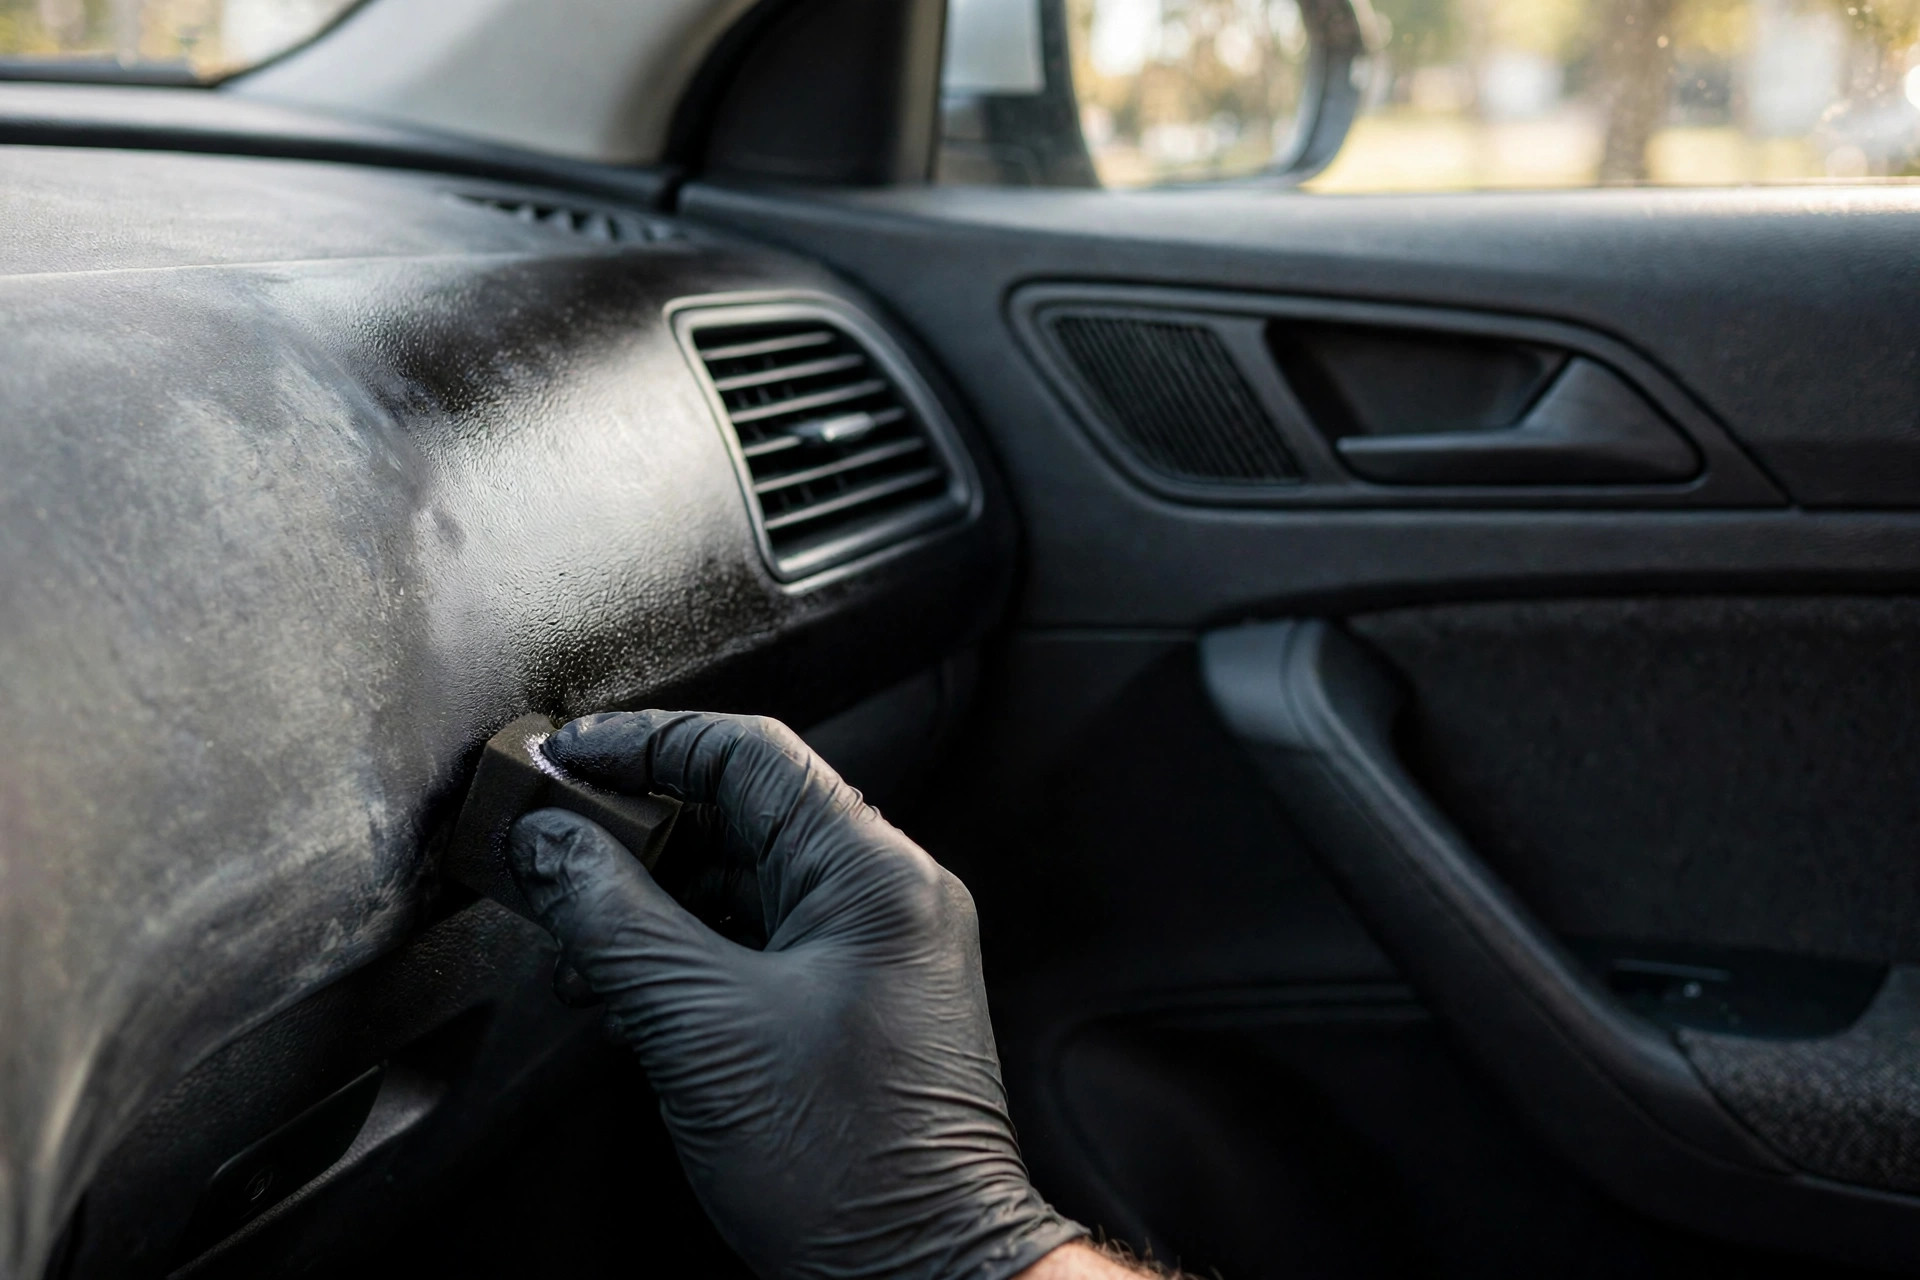
Into this kind of machine? Interior Plastic Trim Restoration: Reviving Faded Dashboards, Consoles, and Door Panels covers a close cousin worth your garage time.
Bookmark this guide — it will come in handy in the garage.

