
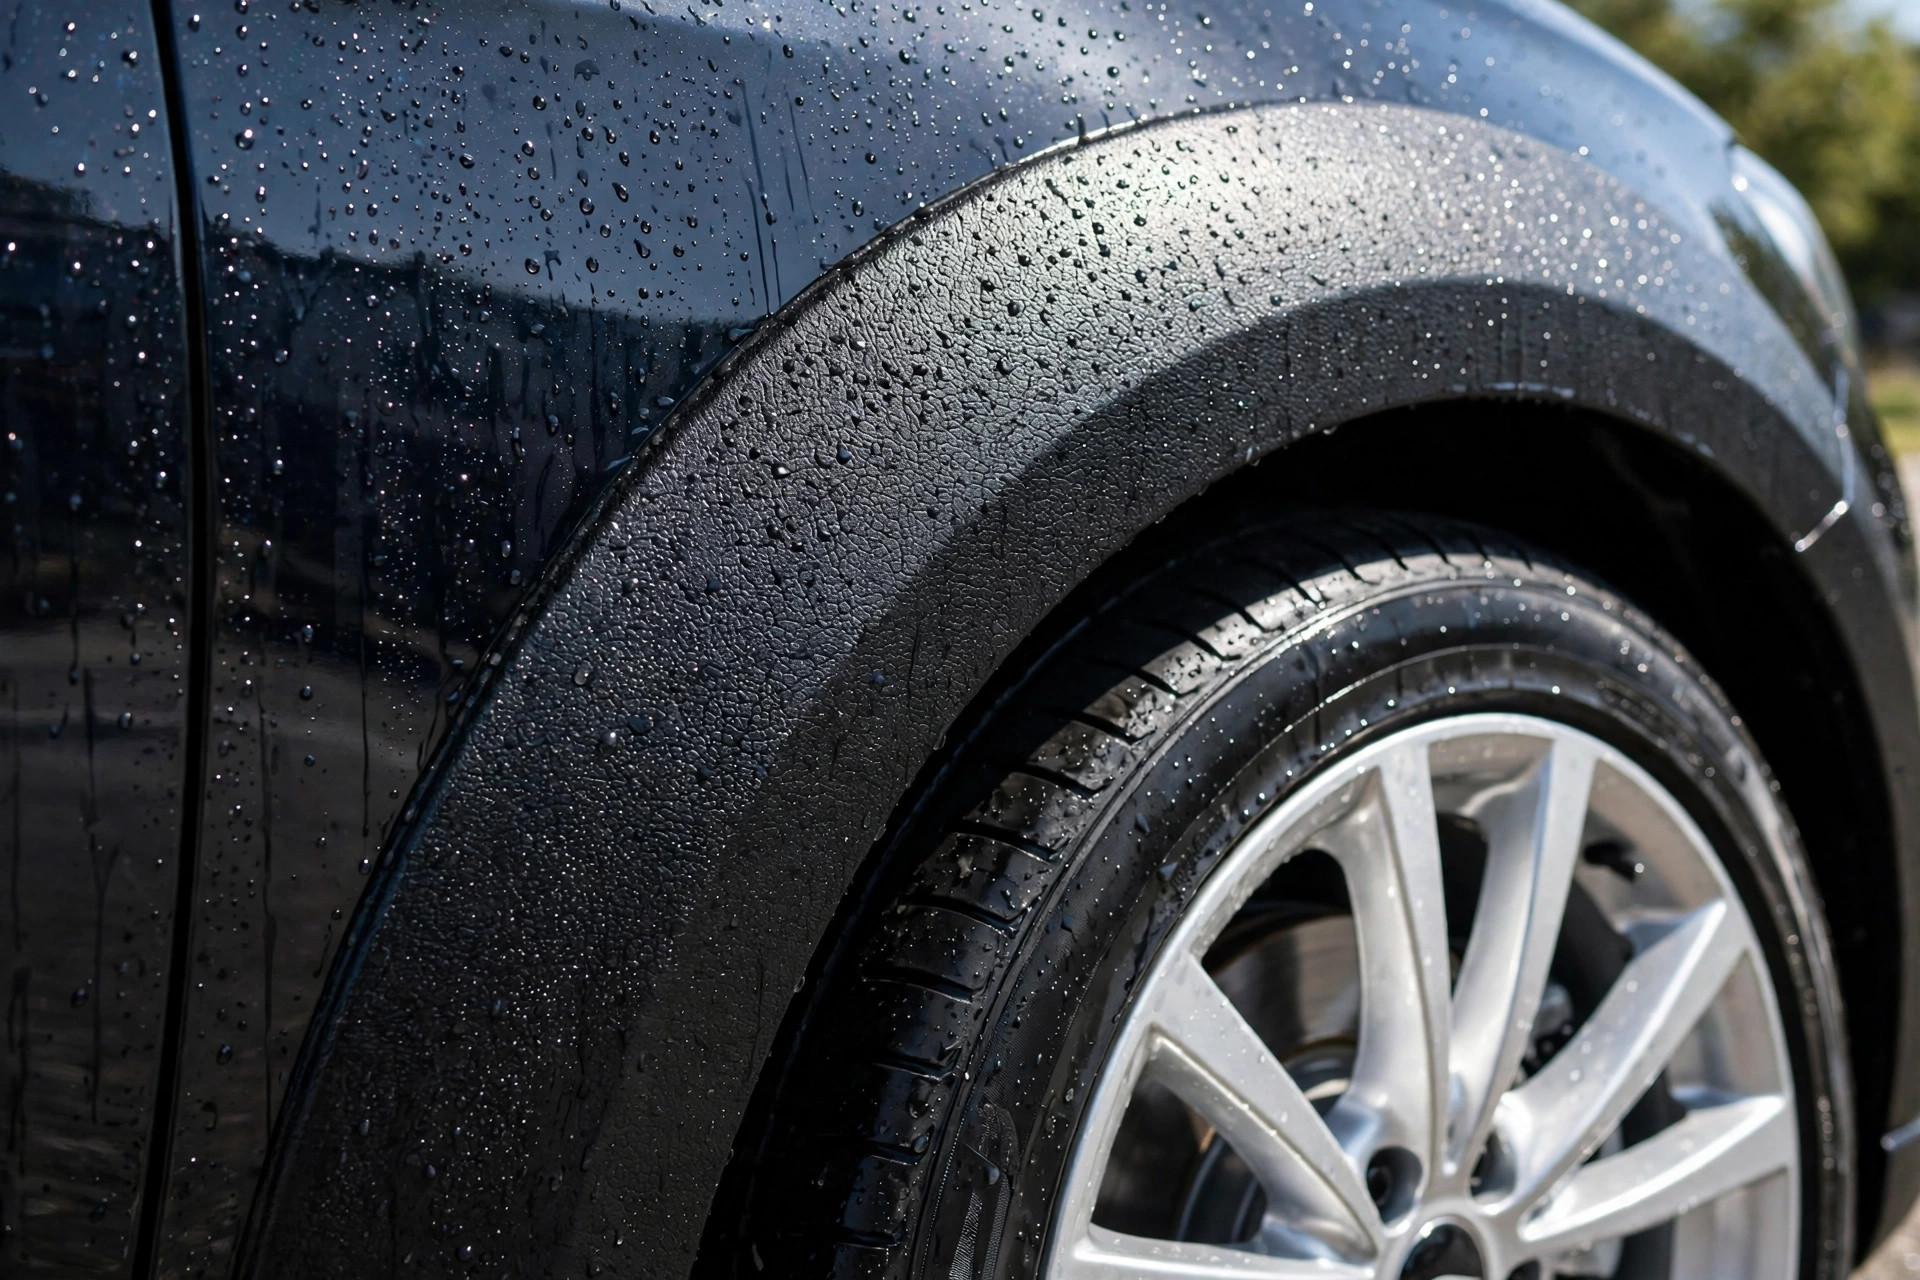
Where does exterior plastic suffer most, and why? Wheel arch trim and fender flares live the hardest life of any exterior plastic: they sit inches from spinning tires that sandblast them with grit, water, and road grime, they catch every bit of brake dust and mud the wheels throw, and their textured grain traps contamination that smooth trim would shed. When they fade, the whole stance of the car suffers: gray, chalky arches make even a clean vehicle look neglected.
Restoring arch trim and flares takes a more aggressive approach than pampering a cowl panel, because the contamination is embedded deeper and the plastic is usually the coarsest-grained on the car. This guide covers the full process from heavy decontamination through restoration to the kind of durable protection that survives life next to the tires.
Why Arch Trim Fades Before Everything Else
Three forces converge on wheel arch trim:
- UV exposure fades it like any exterior plastic.
- Constant abrasion from road grit thrown by the tires scours the surface and opens fresh plastic to oxidation.
- Chemical attack: brake dust is corrosive, road salt is brutal in winter climates, and mud holds moisture against the plastic for days.
The coarse texture that looks so good new is a trap for all of it, holding contamination in the grain where washes cannot reach.
The result is fading that goes deeper than surface chalk. Arch trim often looks gray even after cleaning because the grain is packed with embedded grime and the high points of the texture are physically worn. That is why a quick dressing rarely satisfies here: it darkens the surface for a week while the embedded contamination keeps the texture looking dull underneath. Proper restoration starts below the surface, not on top of it.
Heavy Decontamination: Getting the Grit Out
Normal washing does not touch what is embedded in arch trim. Start with a dedicated degreaser or strong all-purpose cleaner, sprayed generously and left to dwell so it can loosen the packed-in grime. Then agitate with a stiff-bristled detailing brush, working in multiple directions to reach every angle of the grain. You will be surprised how much brown and gray slurry comes out of trim that looked merely faded.
For brake dust staining and iron contamination, an iron fallout remover safe for plastics dissolves the embedded metallic particles that brushes cannot reach. Rinse thoroughly and repeat until the rinse water runs clean and a white towel wiped across the trim stays white. Some detailers finish with a melamine sponge on the worst areas, but use it sparingly: it is abrasive and can polish the texture smooth if overused.
The decontamination step often restores half the appearance by itself, and everything applied afterward bonds better to truly clean plastic. Textured plastic care fundamentals explain the grain-level approach in more depth.
Choosing the Right Restoration Method
After decontamination, assess what is left. If the trim is simply dull with the texture intact, a quality trim restorer or ceramic trim coating may be all it needs. If it is still visibly gray and chalky, step up to a penetrating dye, which recolors the plastic through the texture rather than filming over it. The heat gun method works well on thick flares too, since the heavy plastic tolerates heat safely, and it is particularly satisfying on large textured areas where the color change sweeps across dramatically.
Avoid thin spray dressings as the primary restoration here; they look great for a week and then wash out of the coarse grain unevenly, leaving a patchy mess that is harder to fix than the original fade. Whatever method you choose, the decision framework in every back-to-black method ranked applies, with a bias toward the durable end of the spectrum because arch trim punishes weak products faster than any other location.
Restoring Flares Step by Step
With the trim decontaminated and dry, mask the adjacent paint: flares meet the body along a long seam, and every restoration product will stain paint if it migrates. Apply your chosen restorer in thin coats, working it into the grain with a foam applicator and following the texture direction. On bolt-on flares, work around each fastener carefully; product buildup around bolts looks sloppy and traps moisture.
Let each coat flash and cure per the product directions before adding the next, and inspect from multiple angles: coarse texture hides uneven application until the light hits it right. Two thin coats beat one heavy coat on textured surfaces because heavy coats pool in the grain valleys and cure into shiny low spots. Take your time on the leading edges of the flares, which face the most abrasion and benefit most from thorough coverage.
Protection That Survives Road Grime
Restoration without protection is a short-term win on arch trim. The same grit and spray that caused the fading starts working on the restored surface immediately, so seal it with the most durable protection you are willing to apply. Ceramic trim coatings are the top choice: their hard, slick surface sheds mud and brake dust far better than bare plastic, which means the trim stays cleaner between washes and the washes themselves are easier.
Mud flaps and splash guards are the unsung heroes of arch trim longevity. They do not just protect the paint behind the wheels; they dramatically reduce the volume of grit sandblasting the flares themselves. If your vehicle did not come with them, quality aftermarket flaps are a cheap investment that pays back in every exterior surface near the wheels. For the coating science, how ceramic trim coatings compare to dressings is worth the read.
Aftermarket Flares: Special Considerations
Aftermarket flares, whether bolt-on or molded, are often made from different plastics than factory trim, sometimes ABS or fiberglass, and they may arrive with a mold-release residue that resists every product until it is properly stripped. New aftermarket flares should be thoroughly degreased before any coating, and test your restorer on a hidden area first: some glossy aftermarket flares respond better to paint-style protection than to raw-plastic dyes.
Bolt-on flares with exposed fasteners need attention at the mounting points, where moisture collects and hardware can corrode. Stainless or coated hardware resists this, and a dab of sealant behind each bolt keeps water out of the mounting holes. If you are shopping for flares rather than restoring them, the off-road bumper and armor buying guide covers the broader world of bolt-on exterior protection with the same durability-first mindset.
Arch trim is only one part of wheel-area care, and the tires next to it deserve the same attention. Tire-related reading on this site includes 2026 Nissan Convertible Tires.
A Maintenance Routine for Arch Trim
Arch trim rewards frequent light maintenance over occasional heavy restoration. Rinse the arches thoroughly with every wash, blasting out the wheel wells and the backs of the flares where mud accumulates. Every few months, give the flares a dedicated clean with all-purpose cleaner and a brush, then top up the protection with a spray sealant. This ten-minute addition to your wash routine prevents the deep contamination that makes full restoration necessary.
Inspect the leading edges and lower sections most often; they degrade first and are the early warning system for the rest of the trim. Catching fade at the maintenance stage, when a cleaning and top-up fixes it, is the difference between a car whose arches always look sharp and one that needs a full weekend restoration every year. Consistency beats intensity with the hardest-working plastic on the vehicle.
Related posts:


If this read fired you up, Polished Aluminum Wheels: Removing Oxidation and Tarnish Without Scratching keeps the Tires & Wheels momentum rolling.
Bookmark this guide — it will come in handy in the garage.

