
Ask a group of experienced autocrossers what the cheapest handling upgrade ever invented is, and they will answer in unison: a tire pressure gauge. How does it work? A few psi up or down transforms how a tire’s contact patch meets the pavement, changing grip, steering response, and the car’s balance between understeer and oversteer. It costs nothing, takes seconds per adjustment, and teaches you more about vehicle dynamics than almost any bolt-on part.
Yet tire pressure is also one of the most misunderstood topics in grassroots motorsport, surrounded by folklore and contradictory advice. This guide cuts through the noise with a practical method: where to start, how to read what your tires are telling you, how to tune front-to-rear balance with pressure alone, and how weather and heat change the equation through the day.
Key Takeaways
- Why Tire Pressure Matters So Much — A tire only grips the road through its contact patch — the palm-sized area of rubber actually touching the pavement at any moment.
- Starting Pressures for Your First Event — The most common beginner mistake is overthinking the starting point.
- Front vs Rear: Tuning Balance With Pressure — Here is where pressure tuning becomes genuinely powerful: the relationship between front and rear pressure controls the car’s handling…
- Weather, Heat Cycles, and Pressure Adjustments — Tire pressure is a moving target because air expands as it heats.
Why Tire Pressure Matters So Much
A tire only grips the road through its contact patch — the palm-sized area of rubber actually touching the pavement at any moment. Tire pressure controls the shape and behavior of that patch. Too little pressure and the tire’s sidewalls collapse under cornering load, letting the tread roll over onto its shoulder; the car feels vague and mushy, and the outer edges of the tread overheat and wear rapidly.
Too much pressure and the contact patch shrinks and crowns in the center, reducing grip and making the ride harsh and skittish.
In autocross, these effects are magnified because cornering loads are extreme relative to the speeds involved. A sixty-second course might contain twenty direction changes, each one asking the tires to generate maximum lateral grip from a standing start of a run. Small pressure errors that would go unnoticed on the highway become obvious here: the car pushes wide, or the rear steps out, or the steering feels disconnected. That sensitivity is exactly what makes pressure such a powerful tuning tool.
Pressure is also beautifully reversible, which makes it the ideal learning instrument. Unlike a suspension modification that costs money and an afternoon to install, a pressure change takes thirty seconds and can be undone just as fast. Beginners should treat every event as a laboratory:
- Change one thing at a time
- Note how the car feels
- Check the times
- Build an intuitive understanding of cause and effect
Modern tire pressure monitoring systems will even let you watch pressures climb in real time as the tires heat up.
Starting Pressures for Your First Event
The most common beginner mistake is overthinking the starting point. For your first event, simply inflate all four tires to the vehicle manufacturer’s recommended pressure listed on the door jamb placard — usually somewhere between 30 and 35 psi for a typical passenger car. That number is a safe, sane baseline engineered for the car’s weight and the tire’s construction, and it guarantees you will not damage anything while you learn. Drivers researching tire options can also consult our guide to 2026 Nissan Convertible Tires.
From there, the classic autocross starting recipe is to add a few psi over stock, particularly at the front. Many experienced drivers begin around 4 to 6 psi above the door-placard number on street tires, because autocross cornering loads are far higher than anything the manufacturer envisioned. A front-engine car that recommends 32 psi might start the day at 36 to 38 psi front and 34 to 36 rear. These are starting points, not gospel — the chalk test described below will tell you where your specific combination actually wants to be.
One critical detail: always set pressures when the tires are cold, meaning the car has been sitting for at least a few hours or driven only gently to the event. A tire that reads 36 psi after a highway drive might be 33 psi cold, and chasing a moving target through the day leads to confusion. Record your cold starting pressures in a notebook or your phone — you will thank yourself at the next event when you want to replicate a setup that worked.
The Chalk Test and Reading Tire Roll
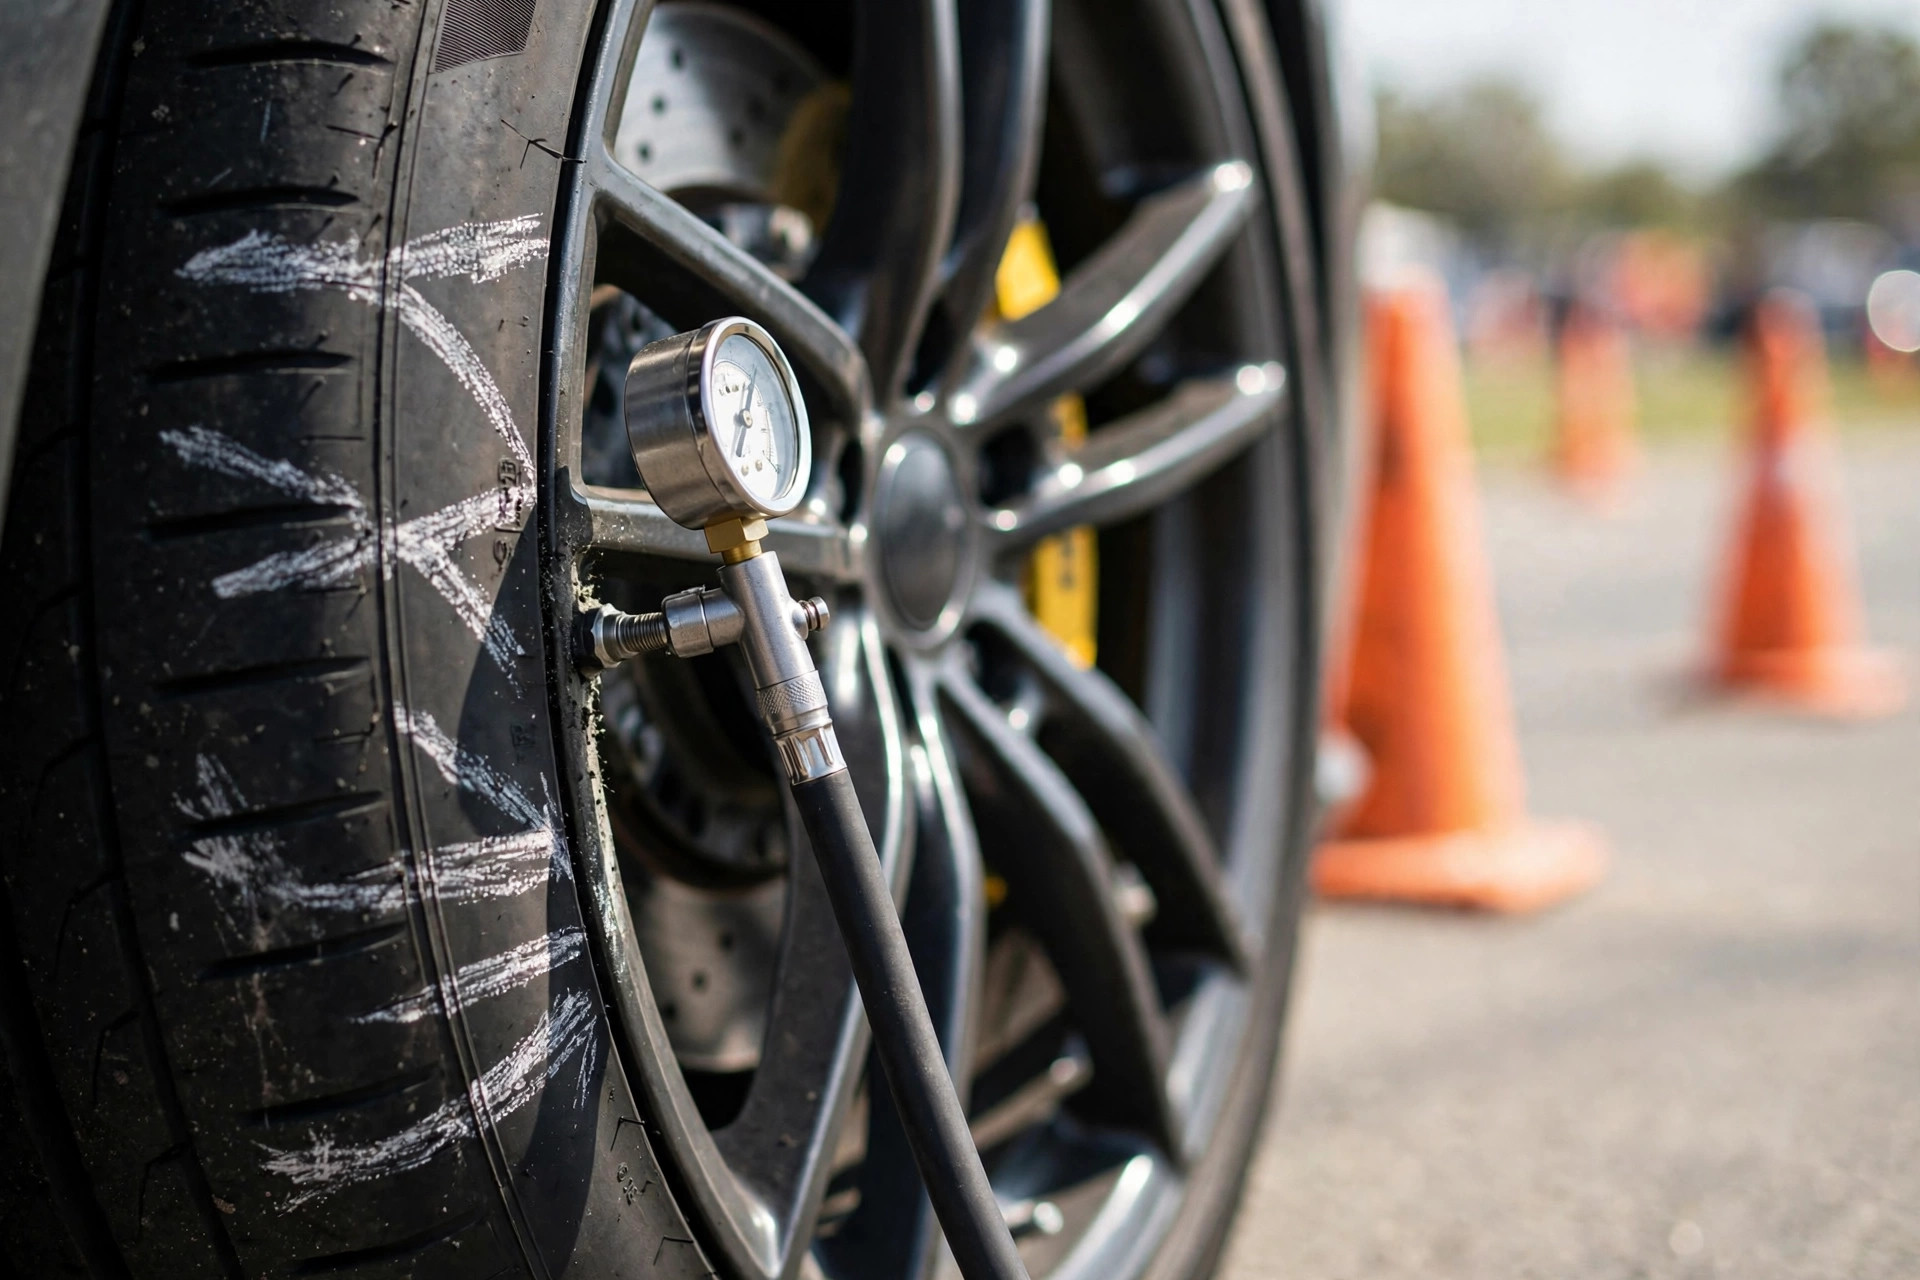
The chalk test is the oldest and most reliable pressure-tuning method in autocross, and it requires nothing fancier than a stick of sidewalk chalk. Before a run, draw a thick chalk line across the tire’s tread, extending from the tread face down onto the sidewall shoulder. Make a run, then inspect the chalk: the line will have been scrubbed off everywhere the tire contacted the pavement under load.
Reading the result is straightforward. If the chalk is scrubbed well past the tread edge and deep onto the sidewall, the tire is rolling over — pressure is too low, so add two to three psi and test again. If the chalk remains untouched right up to the tread edge, with a crisp unworn band at the shoulder, pressure is too high — bleed a couple of psi out.
The sweet spot shows chalk worn
The sweet spot shows chalk worn exactly to the edge of the tread, with just a whisper of wear kissing the shoulder. That picture means the whole tread is working under maximum cornering load.
Run the chalk test separately at the front and rear, because the two axles carry different loads and want different pressures — on a front-heavy car, the fronts typically need several psi more than the rears. Repeat the test as the day warms up, since rising ambient and tire temperatures change everything. Within a few events, reading your tires will become second nature, and you will start noticing wear patterns that reveal uneven tire wear long before they become a problem.
Front vs Rear: Tuning Balance With Pressure
Here is where pressure tuning becomes genuinely powerful: the relationship between front and rear pressure controls the car’s handling balance. Raising pressure at one axle reduces that axle’s grip relative to the other — a higher-pressure tire has a smaller, less compliant contact patch. So if your car understeers (the front pushes wide, refusing to turn), you can add grip to the front by lowering front pressure slightly, or reduce rear grip by raising rear pressure. If it oversteers (the rear wants to swing around), do the opposite.
In practice, most beginners fight understeer, because most street cars are engineered to understeer at the limit as a safety margin. The standard autocross cure is a pressure split: run the fronts a few psi higher than stock to control tire rollover, and run the rears several psi higher still to free up the rear of the car. A car that starts at 32 psi all around might end the day happiest at 38 front and 42 rear.
That sounds extreme until you feel the transformation — suddenly the car rotates willingly instead of plowing.
Treat balance tuning as a deliberate experiment. Change pressures by two to three psi at a time, on one axle only, then drive and evaluate before changing anything else. Keep notes on every change and the resulting feel, because memory is unreliable and the notebook does not lie. Over a season, you will develop a personal pressure map for your car — and the understanding of weight transfer behind it will make you faster in every car you ever drive, on any kind of tire choice.
Weather, Heat Cycles, and Pressure Adjustments
Tire pressure is a moving target because air expands as it heats. A tire set to 36 psi cold on a cool morning can easily read 40 or 41 psi after three runs in the afternoon sun — a change big enough to completely alter the car’s balance. The pros manage this by checking pressures immediately after every run and bleeding them back down to their hot target, keeping the working pressure constant even as temperatures climb. You do not need to be that obsessive on day one, but checking pressures at midday is a wise habit.
Ambient conditions matter too. On a cold morning, tires generate less grip and take longer to warm up, so slightly lower starting pressures can help build heat. On a scorching afternoon, the opposite applies — start a touch higher to leave room for heat expansion.
Rain changes the game entirely: lower
Rain changes the game entirely: lower pressures slightly to enlarge the contact patch and help the tread clear water, and expect the whole grip equation to reset. Wet autocross is a masterclass in smoothness that every driver should experience.
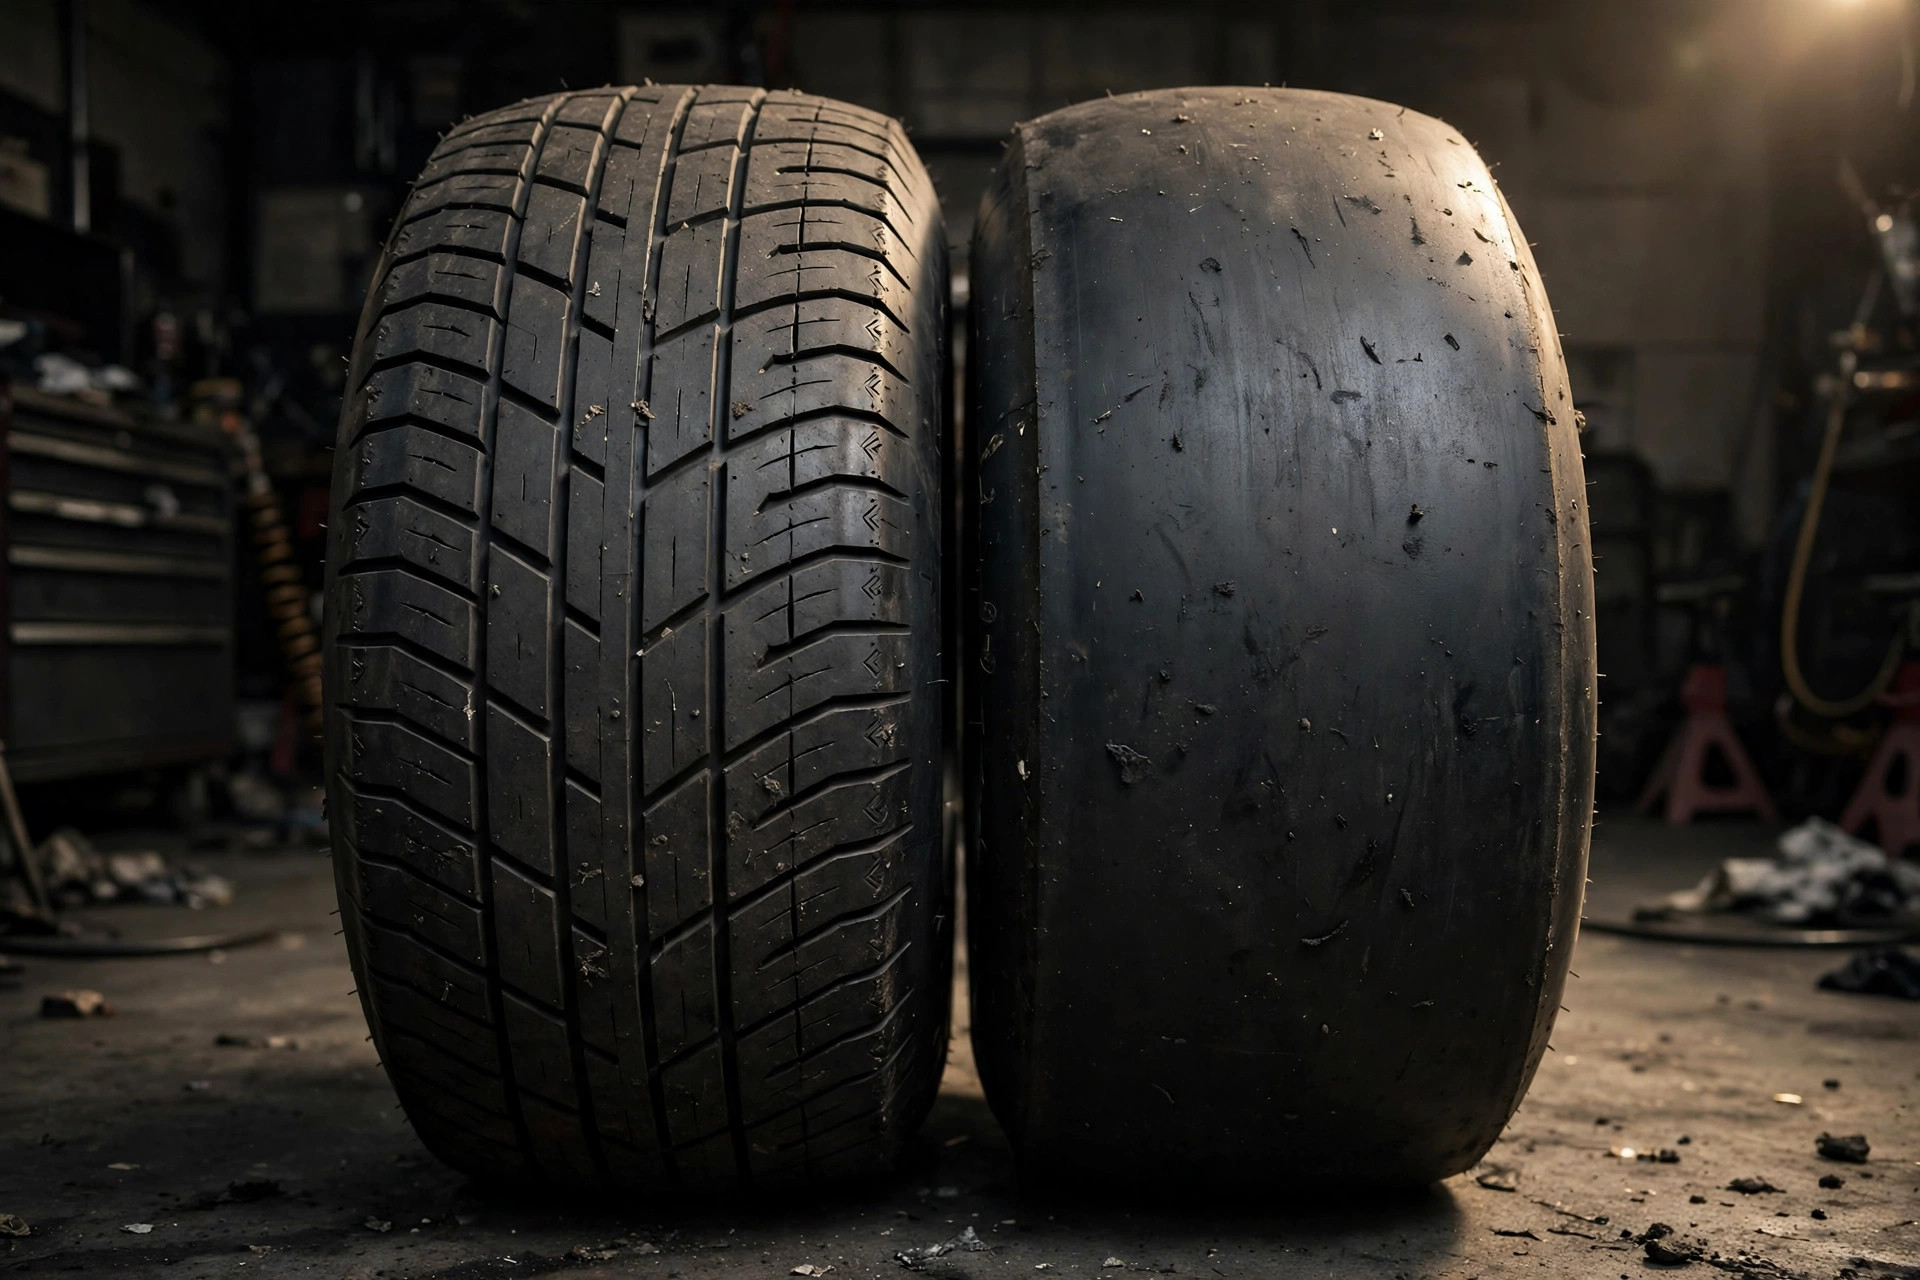
Finally, respect heat cycles and tire age. Every time a performance tire goes through a full heat-up and cool-down, its compound changes slightly; after enough cycles, even a tire with plenty of tread loses its ultimate grip. This is why serious competitors track the age and cycle count of their tires, and why a second wheel set strategy — a dedicated set of wheels with event tires — pays off for committed autocrossers. For your first season, though, just drive: the lessons in your hands matter far more than the last tenth in your tires.
Related posts:
Into this kind of machine? Track Day Tire Management: Pressures, Heat Cycles, and Wear covers a close cousin worth your garage time.
Found this useful? Pass it on to a friend who would appreciate it too.

